Quick start
First setup
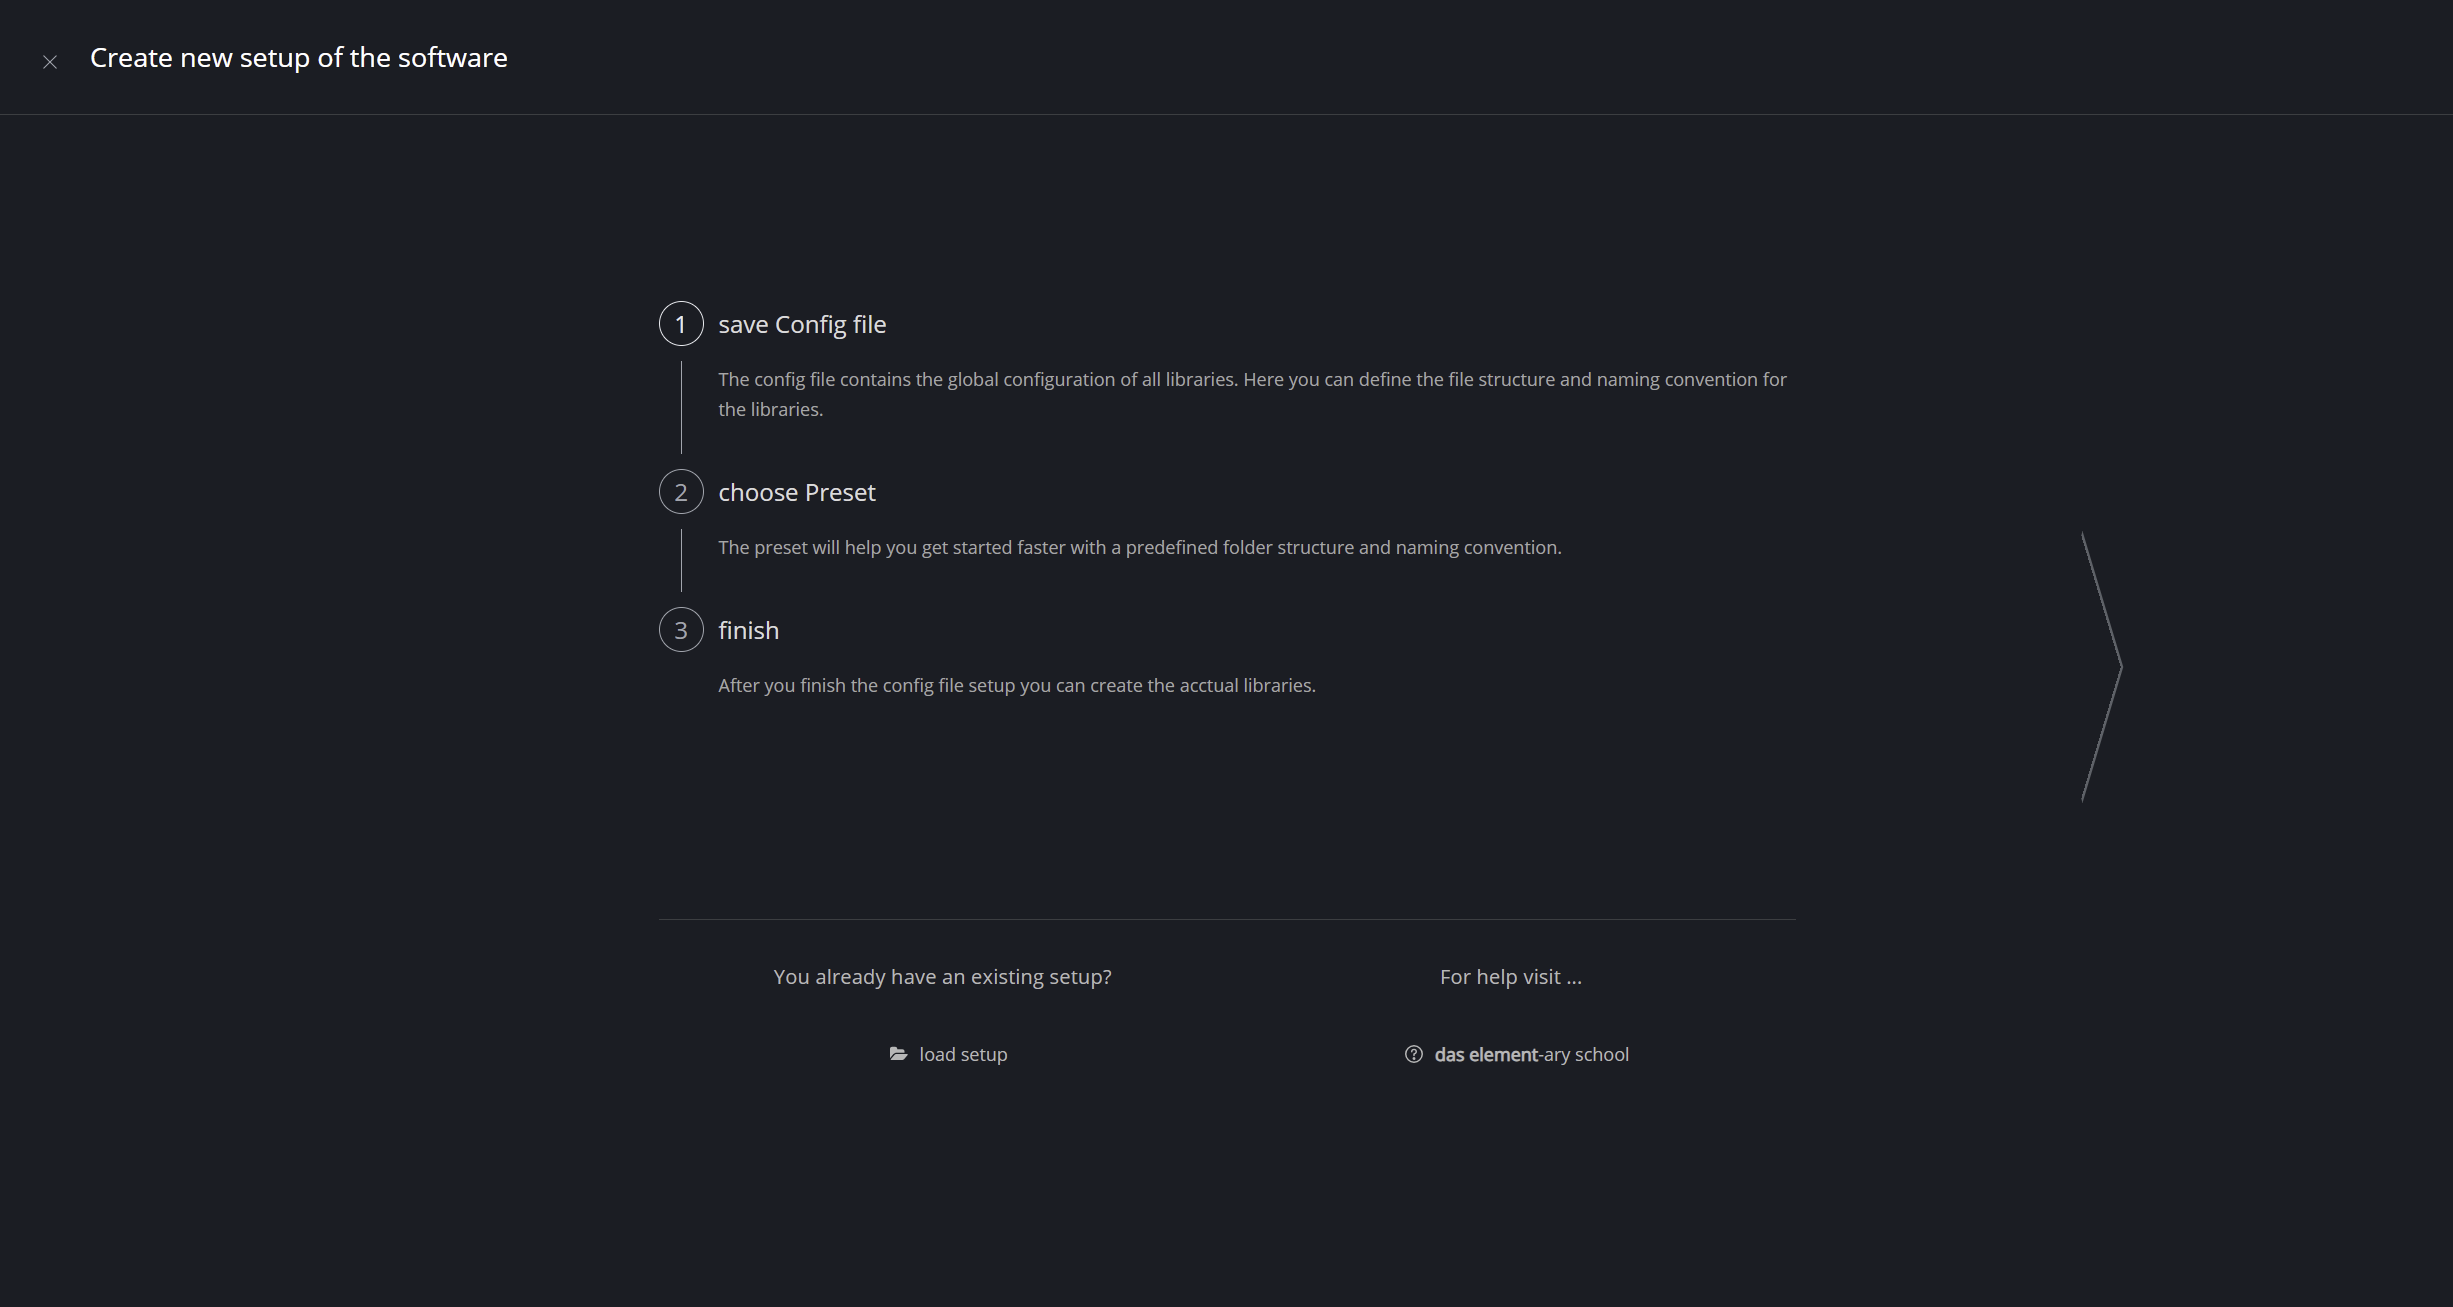
The first time you start the application, you will see the start-up screen.
From here, you can either create a new configuration for a new library, load an existing configuration, or open the documentation.
Create new configurations
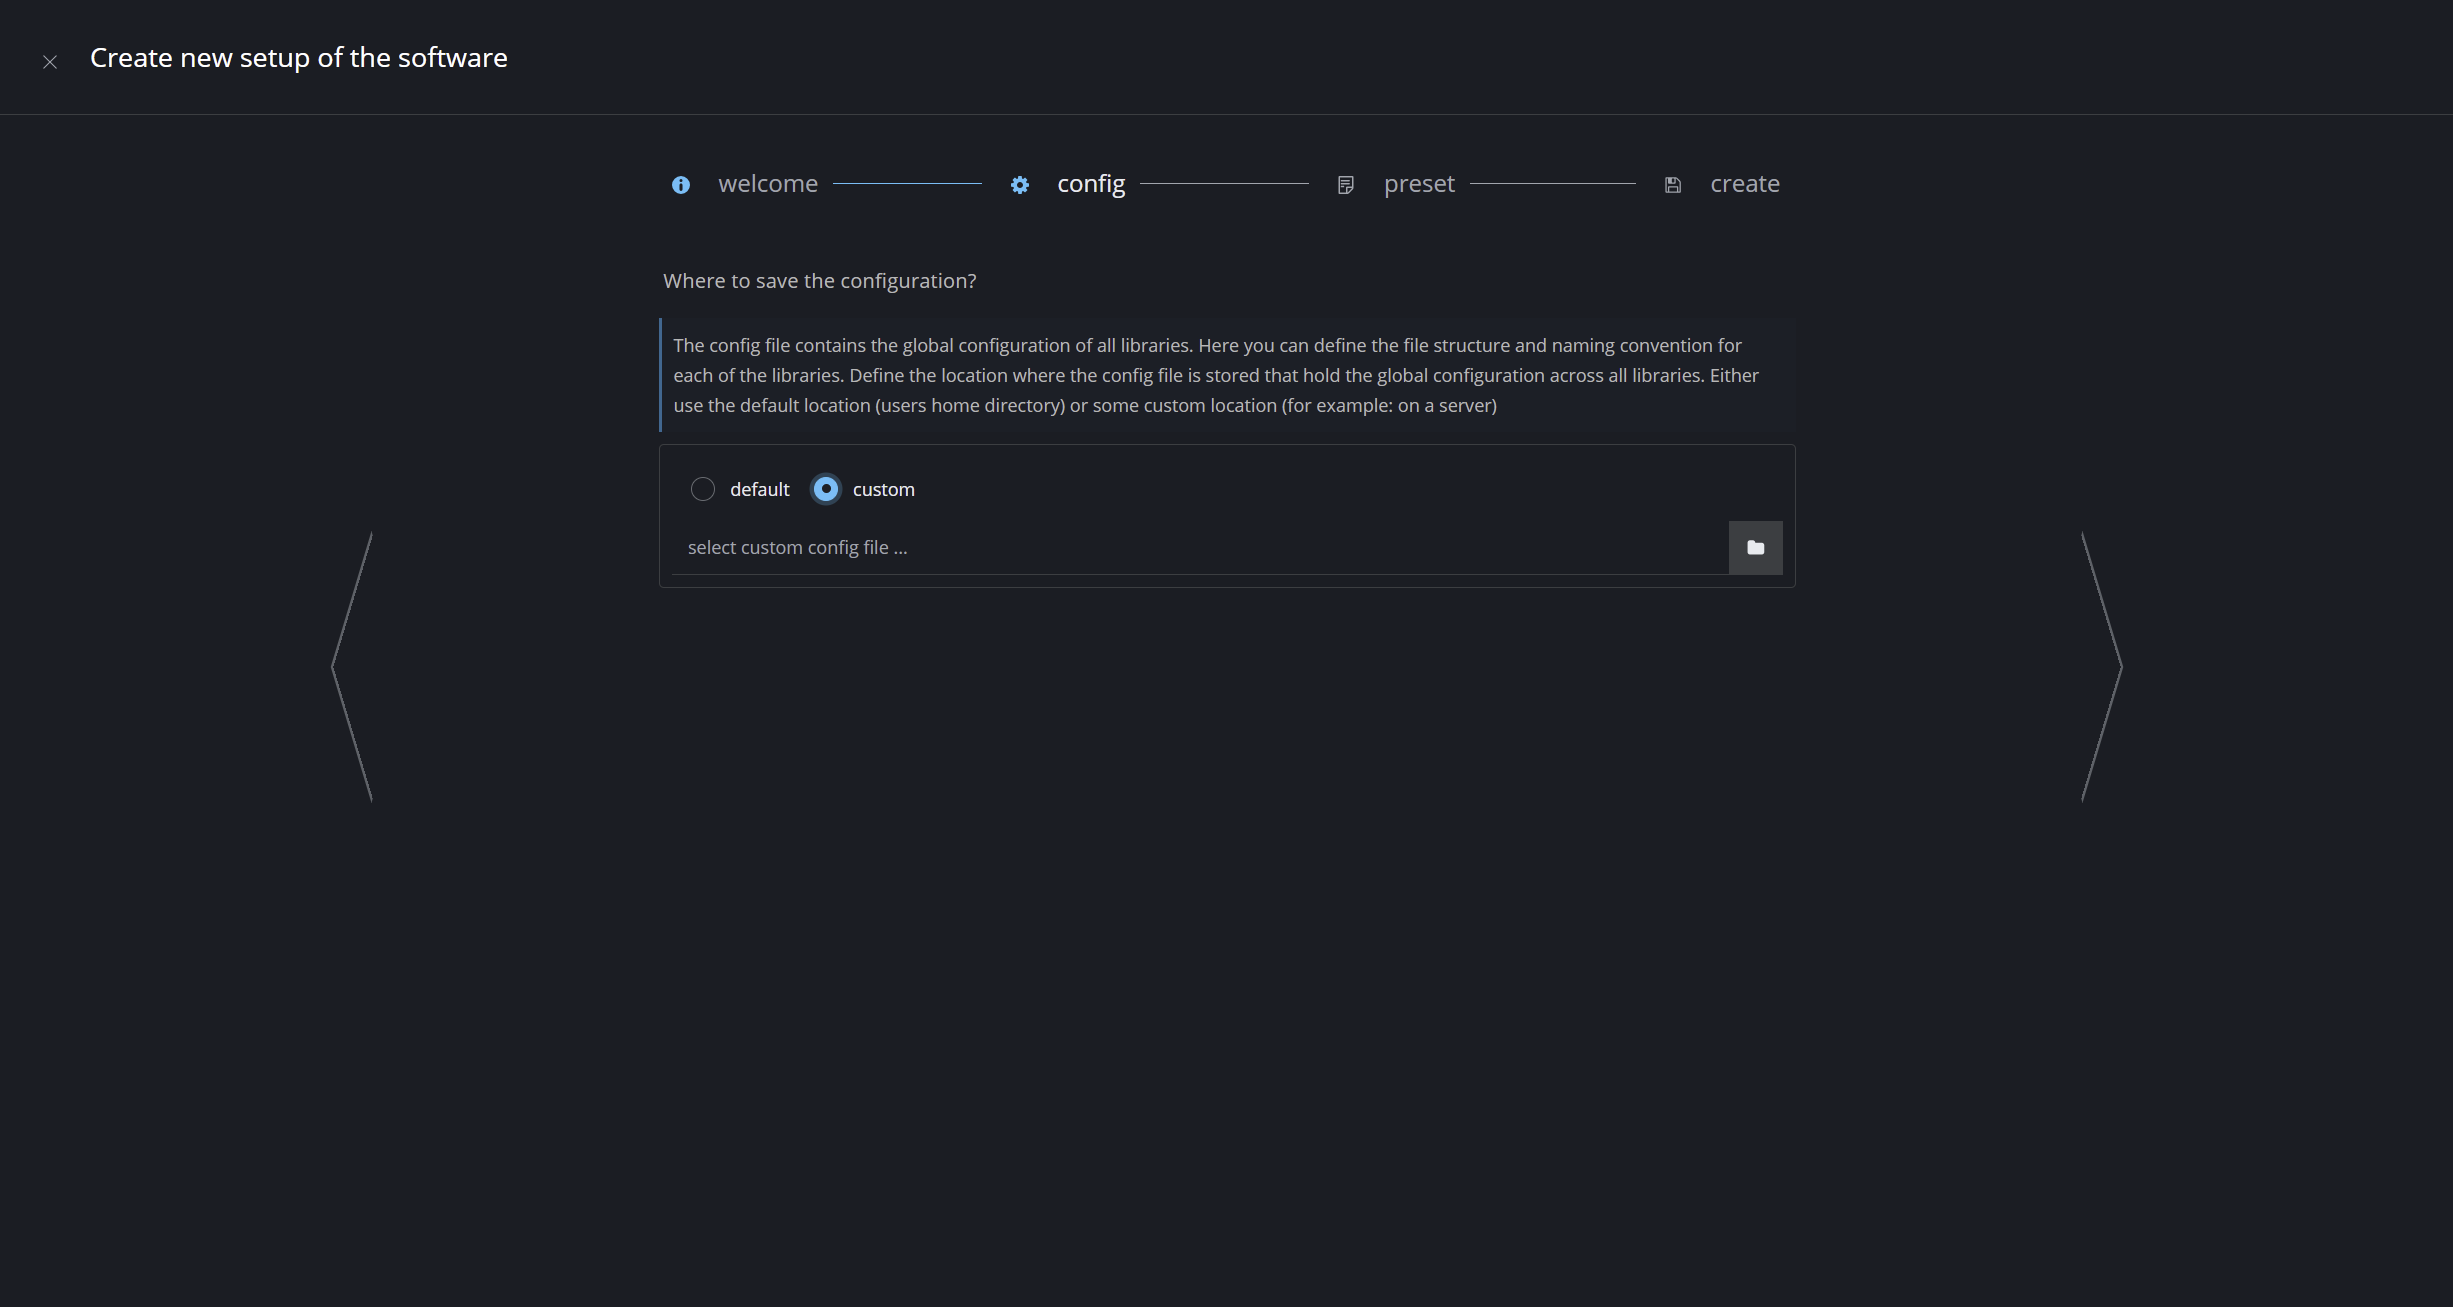
Where to save the configuration file?
Define where the configuration (config) file is saved.
The config file contains the global configuration for all libraries. Here you can define the file structure and naming convention for each library.
You can either use the default location or set a custom location. For single users, it's probably best to use the default location. For a studio, you may want to select a place on your server where everyone can access it.
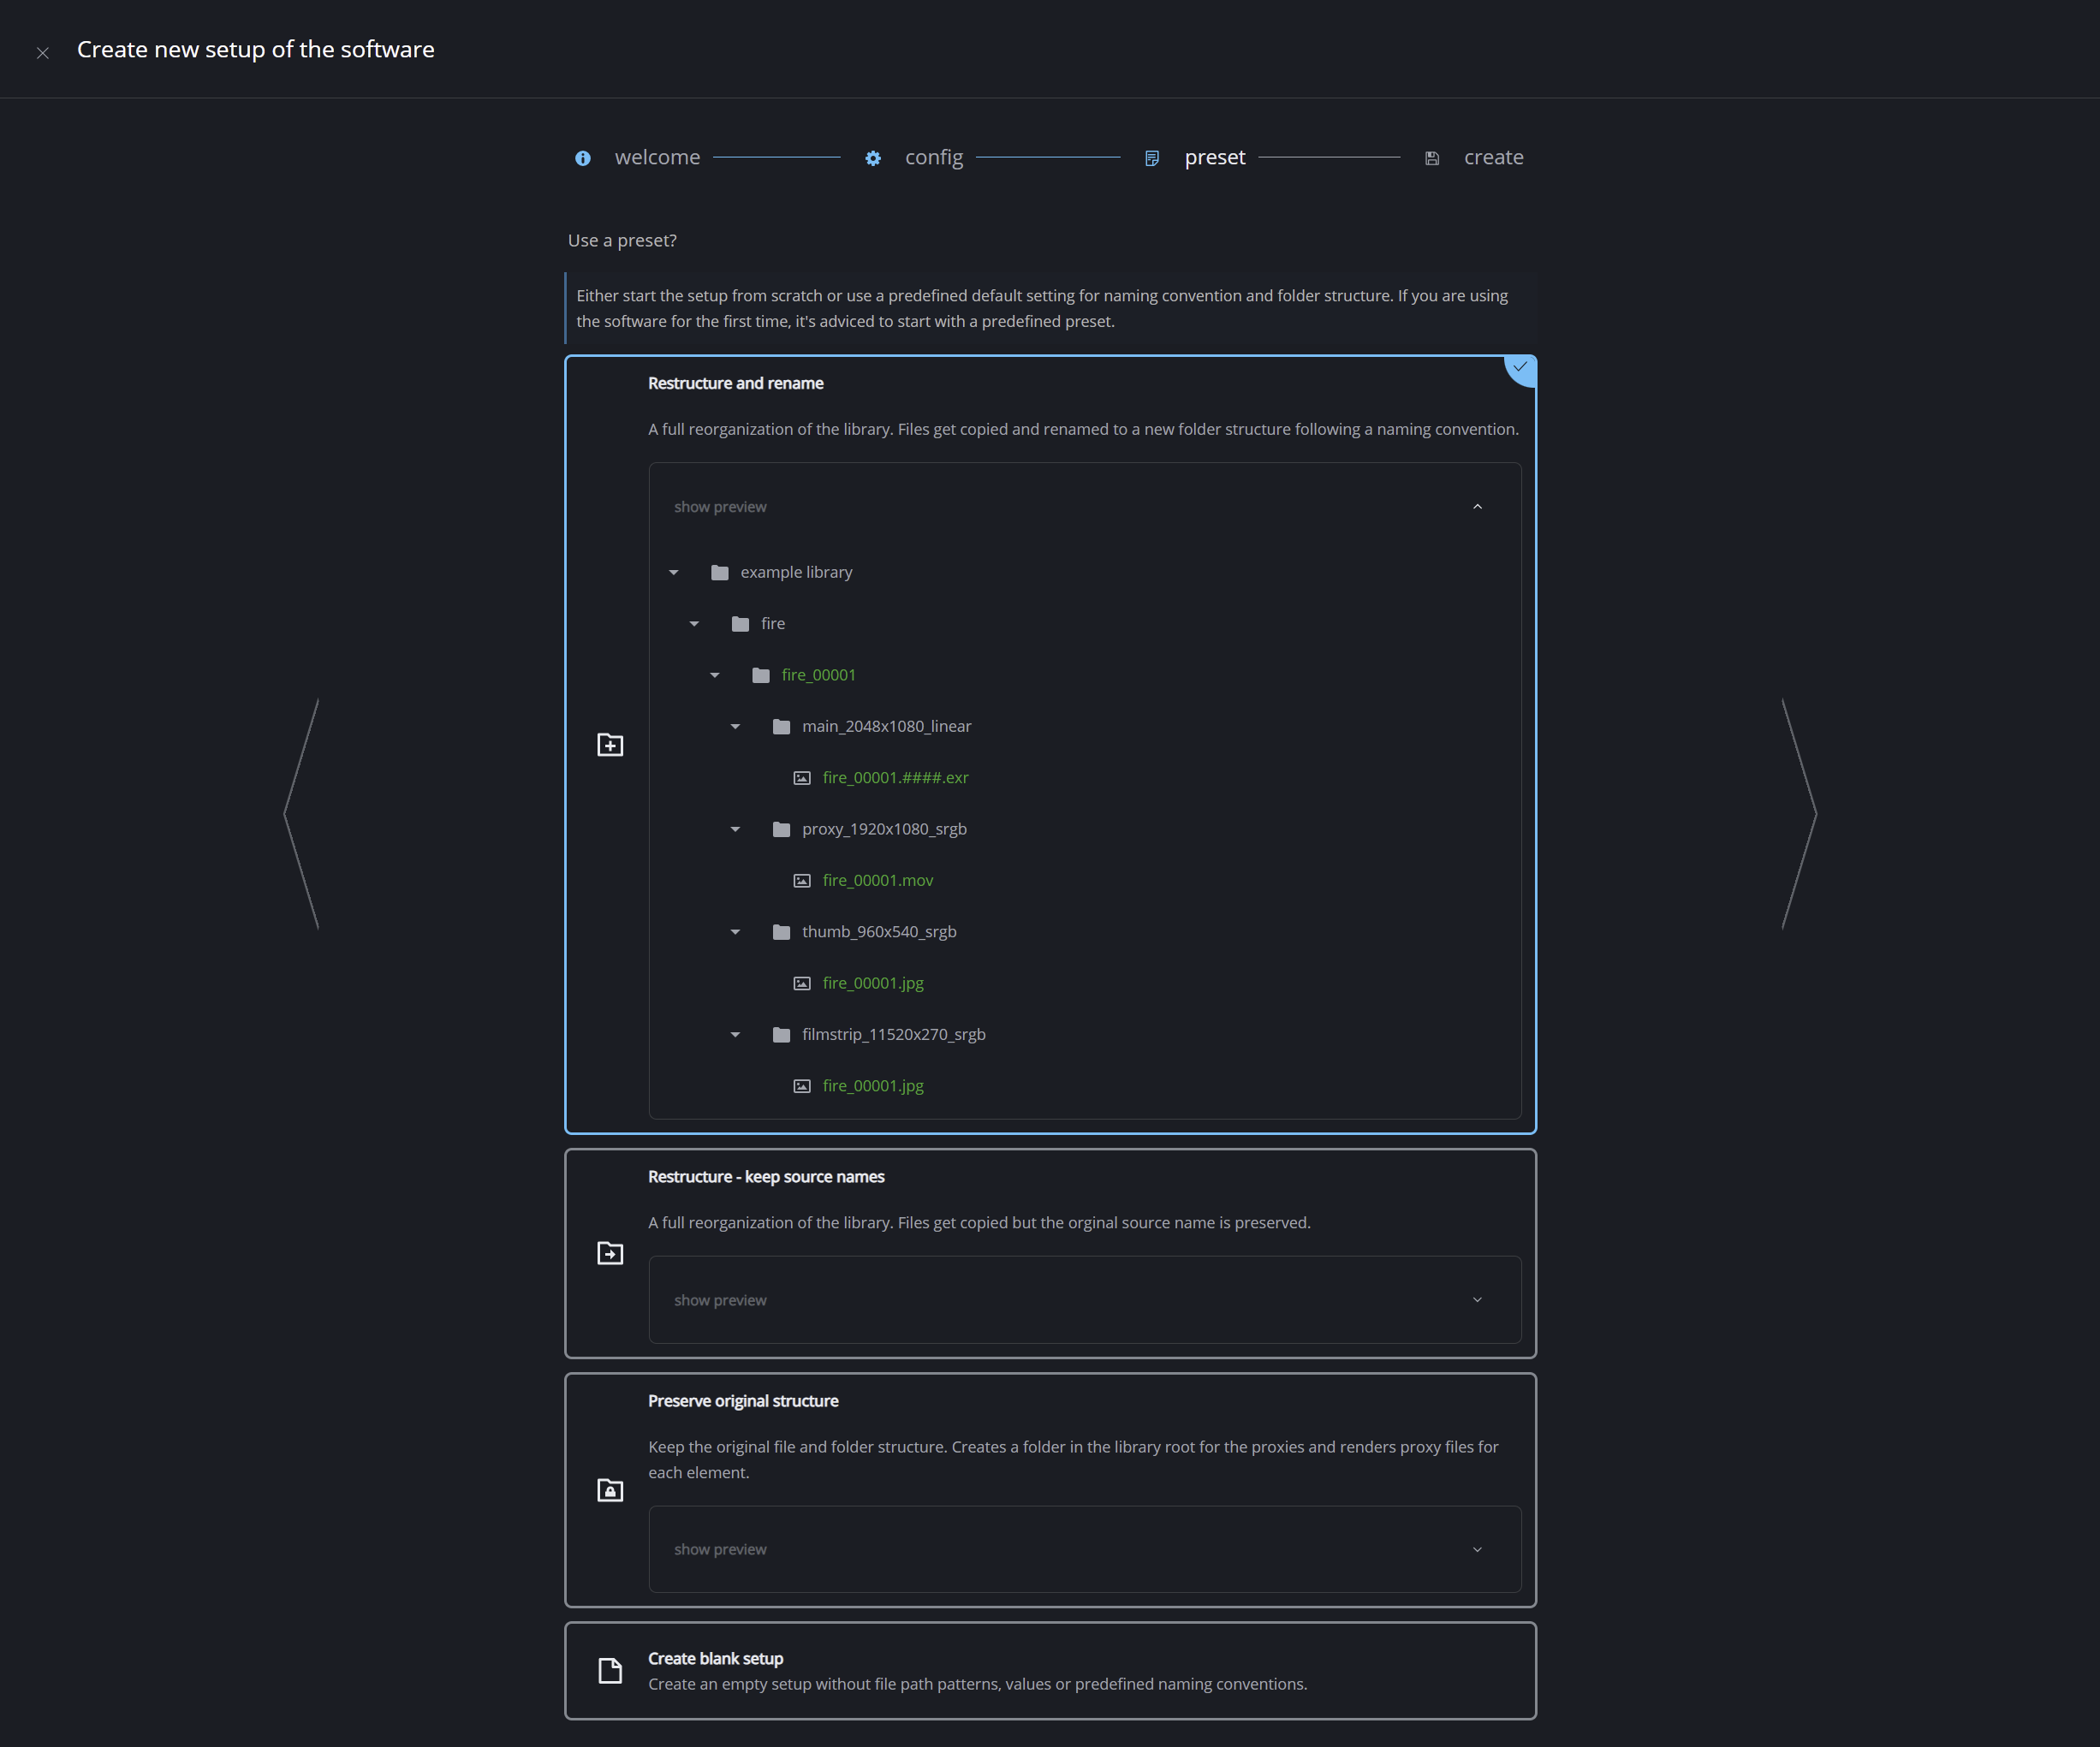
Use a preset?
Either start your configuration from scratch or use a predefined preset.
The preset will help you get started quickly by setting up the path patterns and values for you. If you are using the software for the first time, it's advisable to begin with a predefined preset.
Click show Preview to see a preview of the folder structure and naming convention.
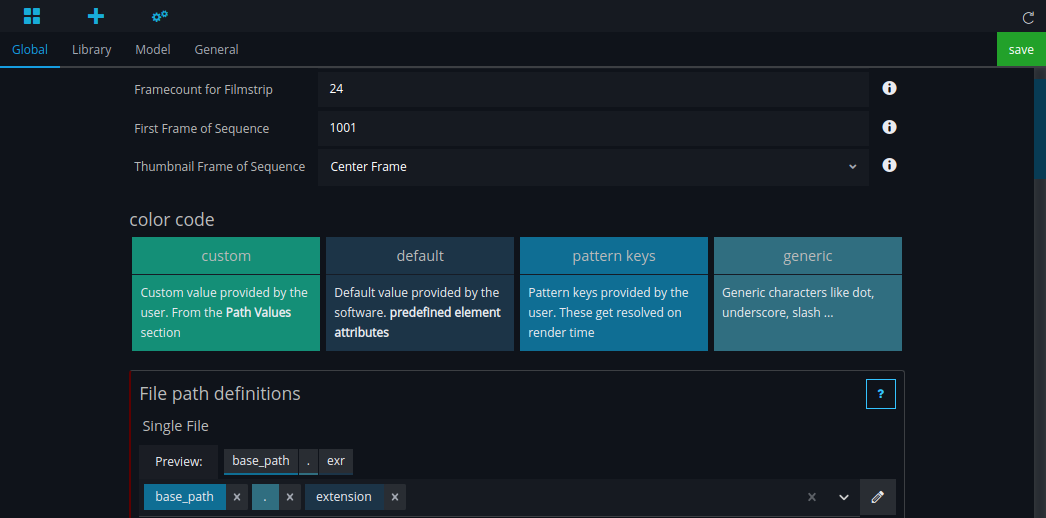
The path pattern and values define your naming convention and file structure on disk.
Complete
Finally, complete the first step by clicking the "let's go!" button to create the setup.
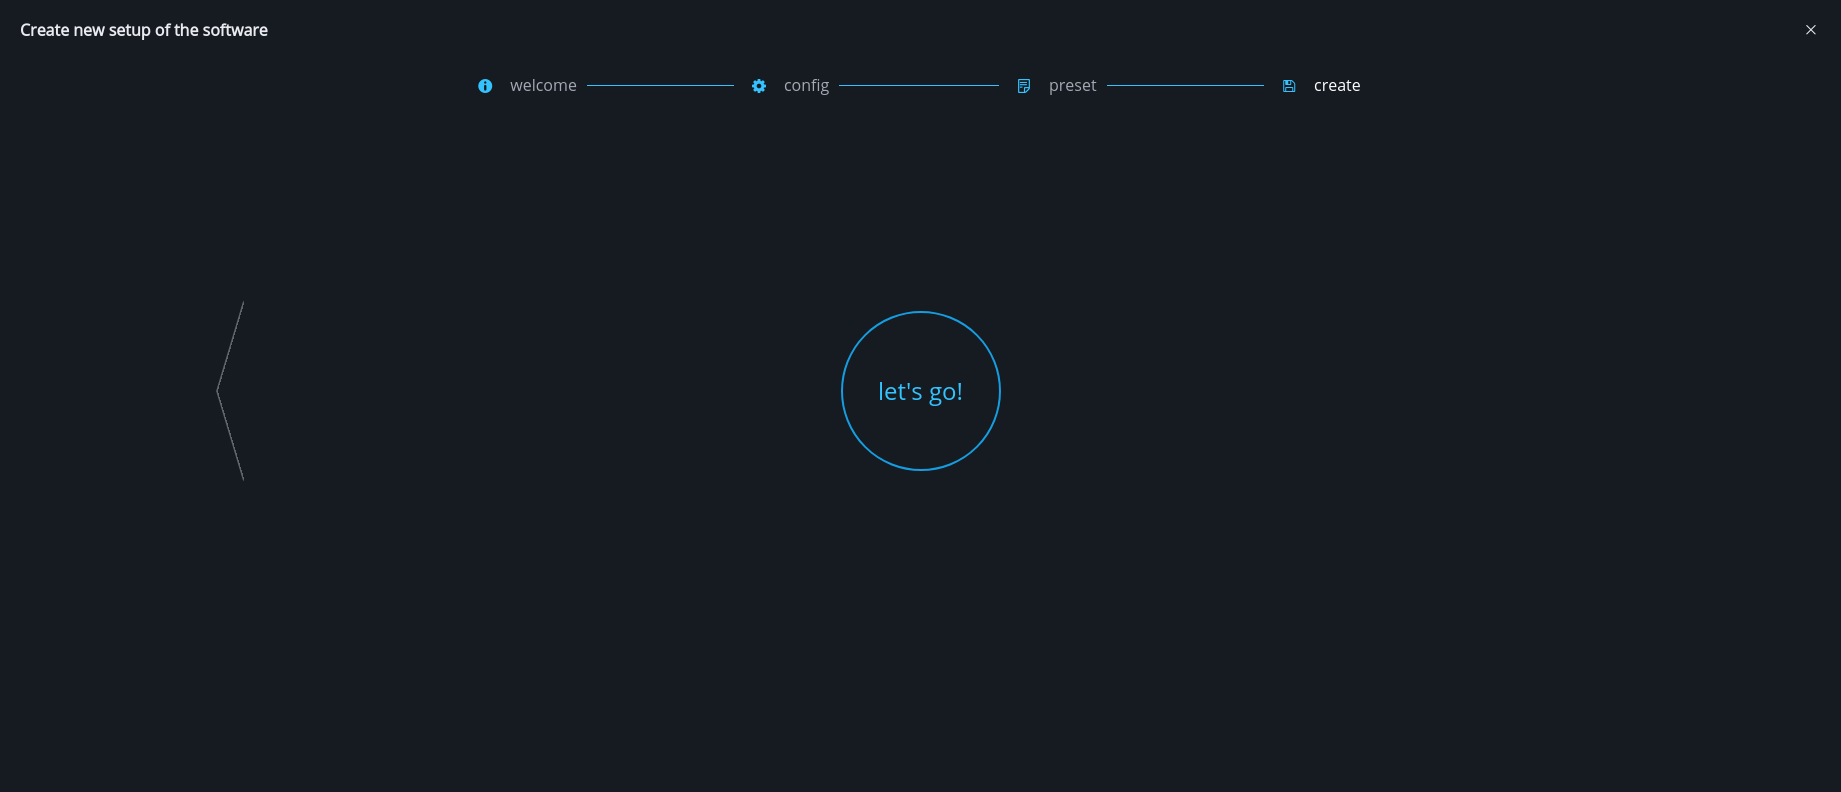
You will be redirected to a new page where you can choose either to create or load/import your libraries.
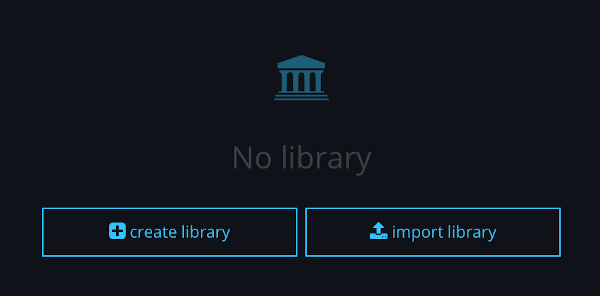
The next step is:
create a new library or import existing library
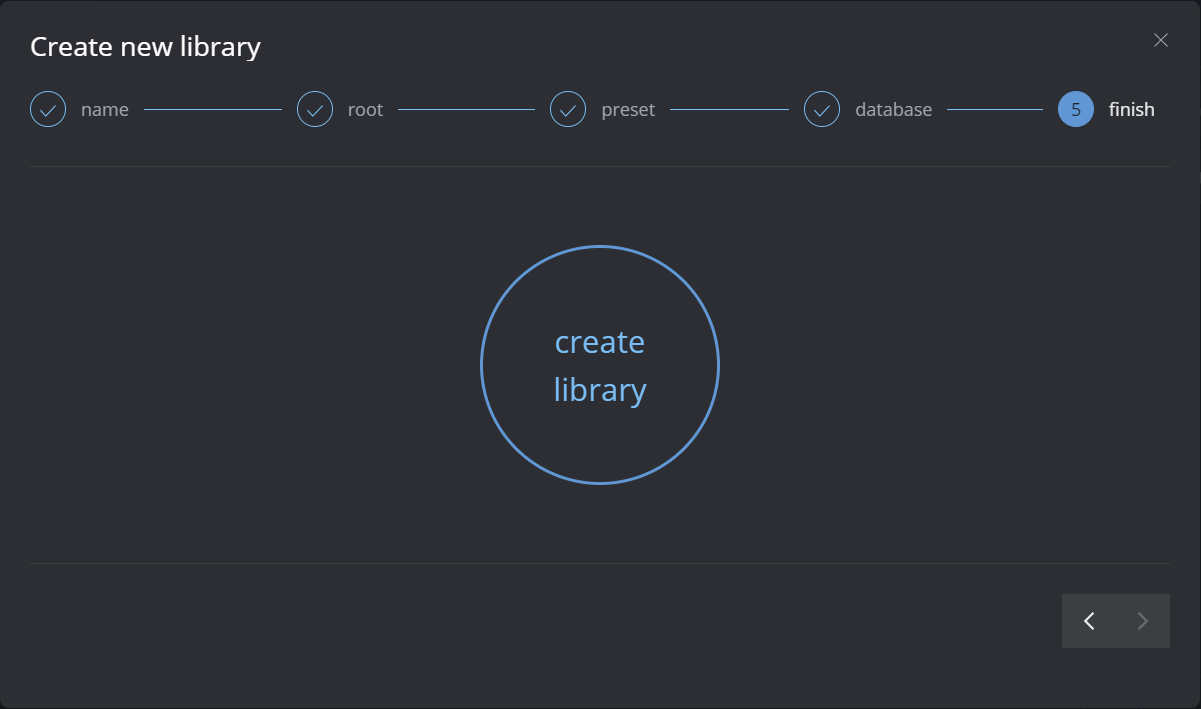
Create new library
When you click create library a dialog will appear.
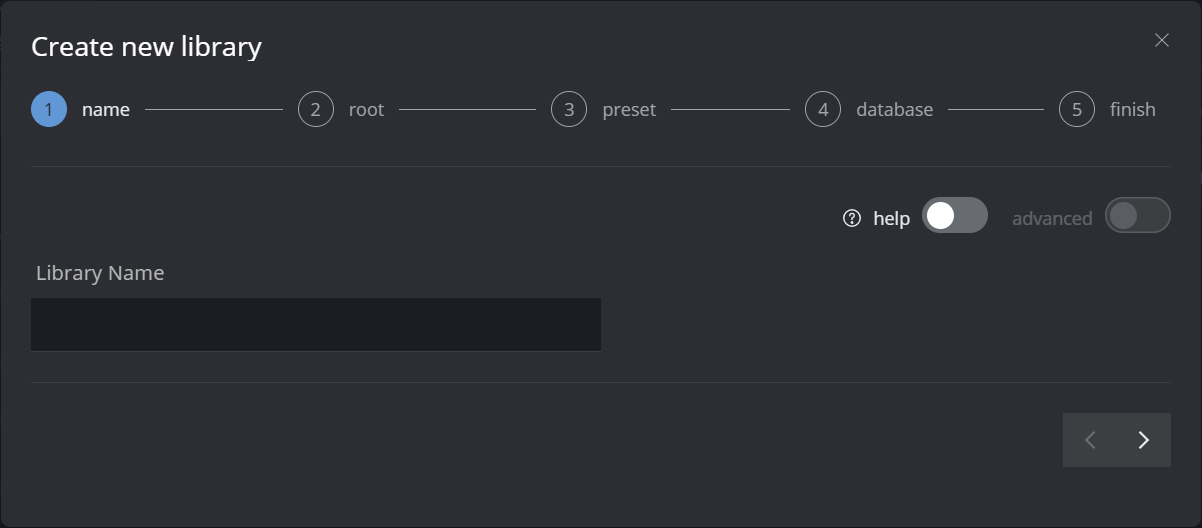
Choose display name of library
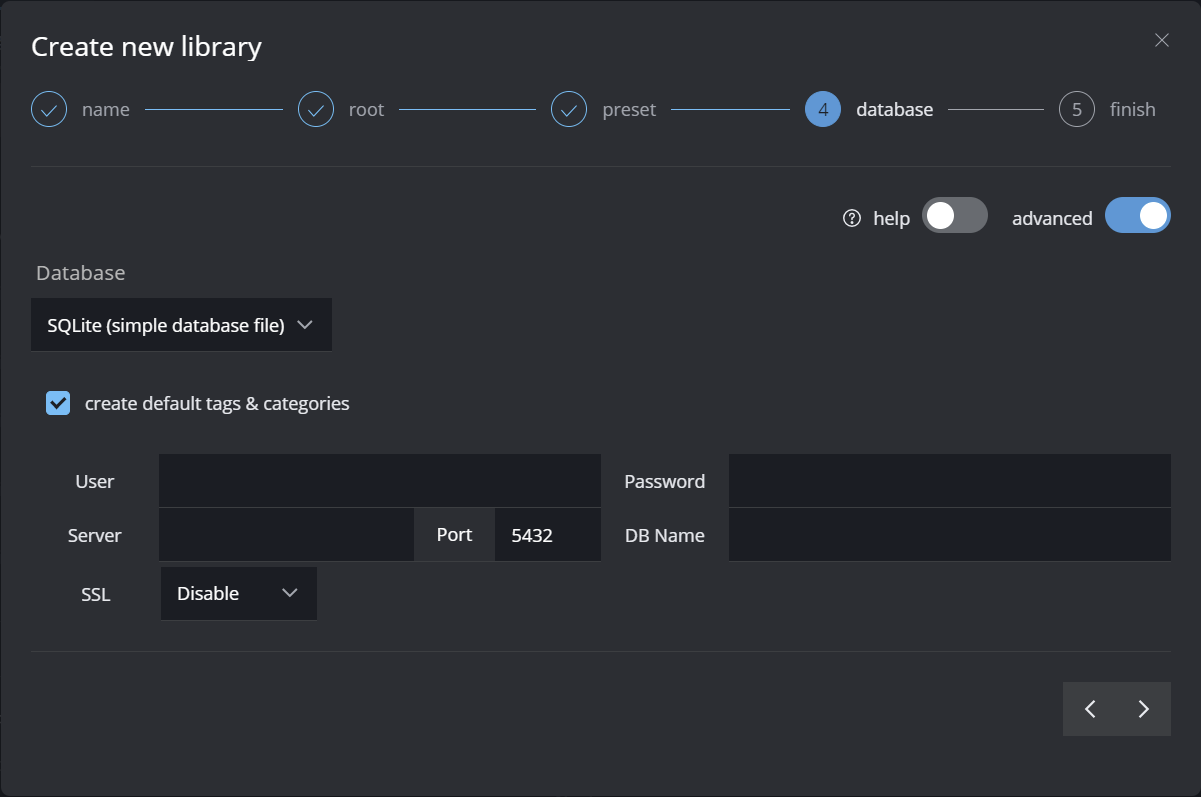
Choose your preferred database
Name | display name of your library - this can be changed later and can contain spaces |
Preset | You can choose a Transcoding Preset |
Library File | The library file contains all information about the configuration of the library. It can be saved on a server where everybody has access. |
Library Root | Define the root location of the library data |
Database | Select which database to use for library. It holds all information about the different elements. Either use a file based database (SQLite) or a server based database (e.g. PostgreSQL) The SQLite file can be saved on a server where everybody has access. It’s recommanded to use a server based database like PostgreSQL, MySQL or MariaDB. |
Your current operating system (underlined) will be validated and the data is primarily added for this OS. It is possible to set the paths for the other operating systems by toggling the button on the bottom.
Go to Settings → Library to manage the library you just created. Here you can configure your transcoding templates for the proxy generation.
Views
The different views are depending on the version that you are using.
For example: Das Element Lite has no ingest view
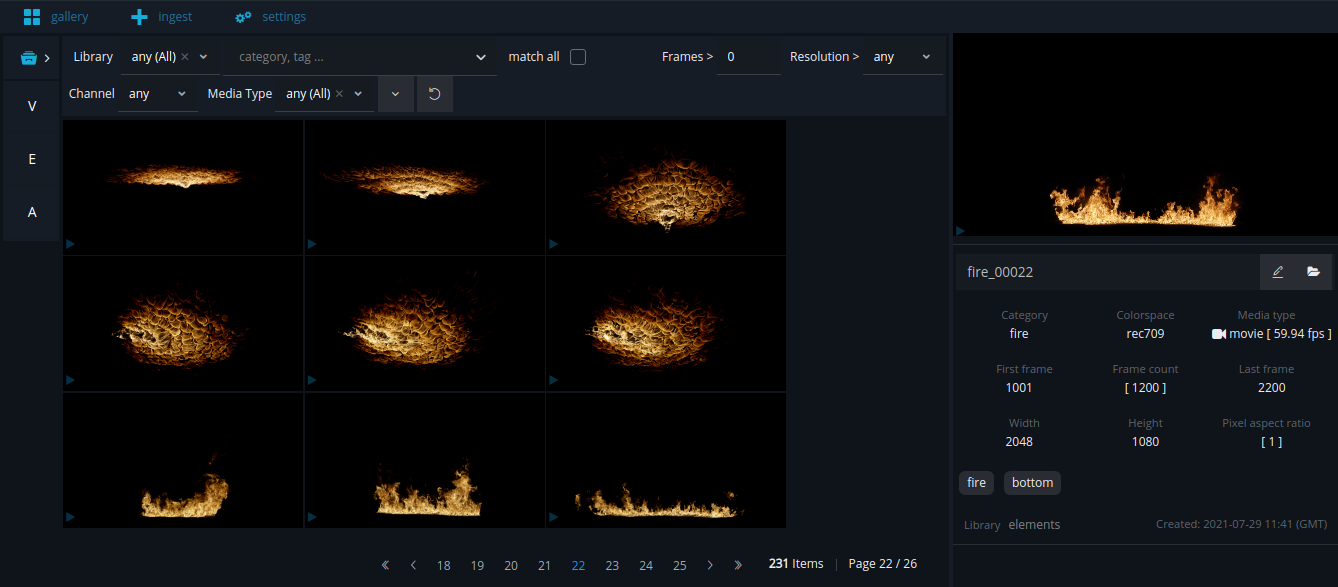
Gallery
This is the gallery view. Here you can search for elements and browse your libraries.
Ingest
Ingest new elements into one of your libraries. This is where the tagging is happening.

Settings
In the settings you can manage different things, your libraries and transcoding templates.