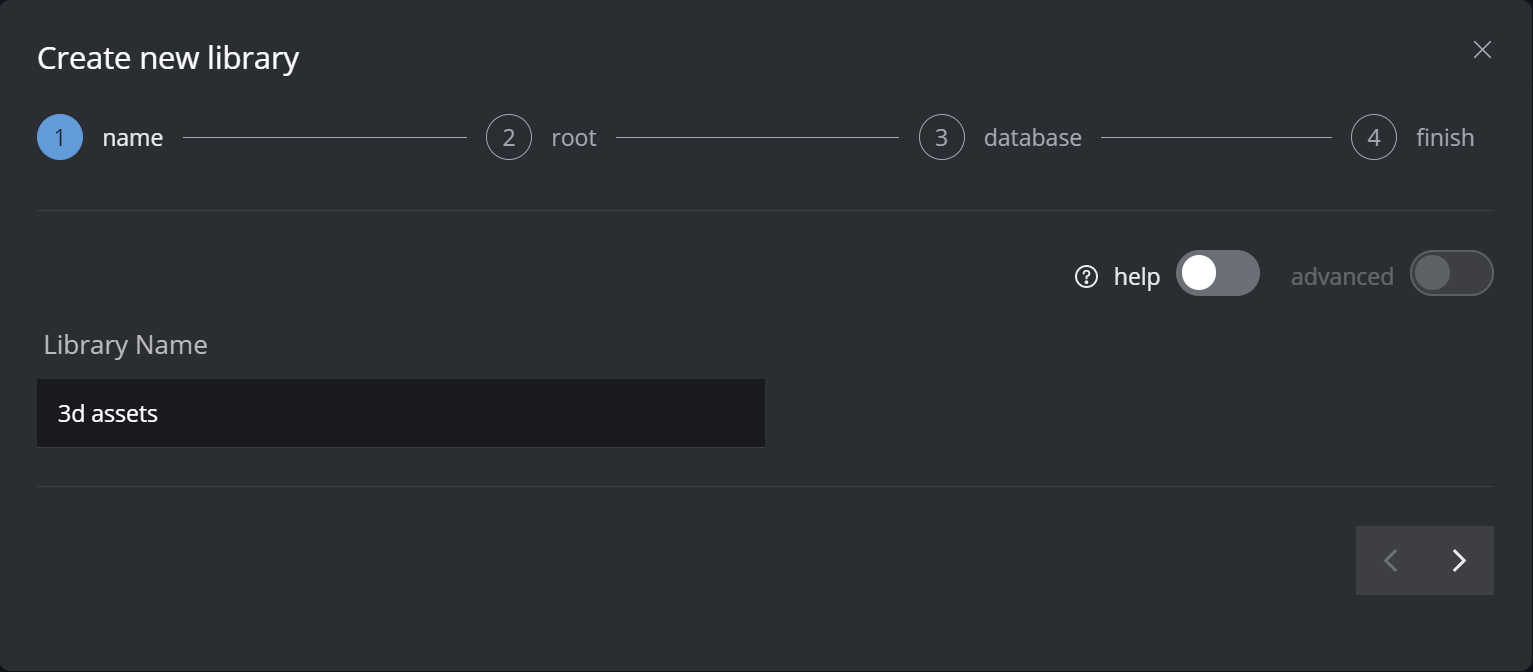
This step-by-step guide shows you how you can setup an 3D asset library. Let’s get started!
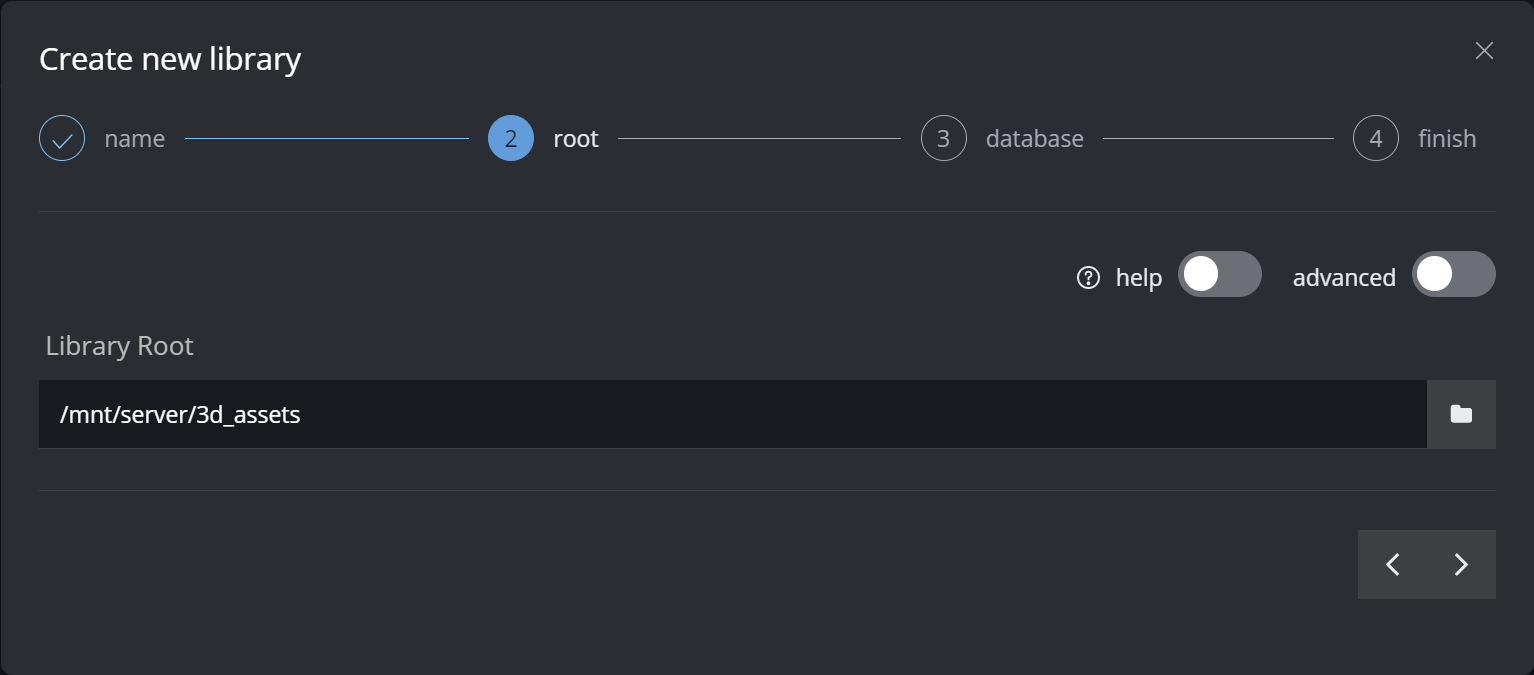
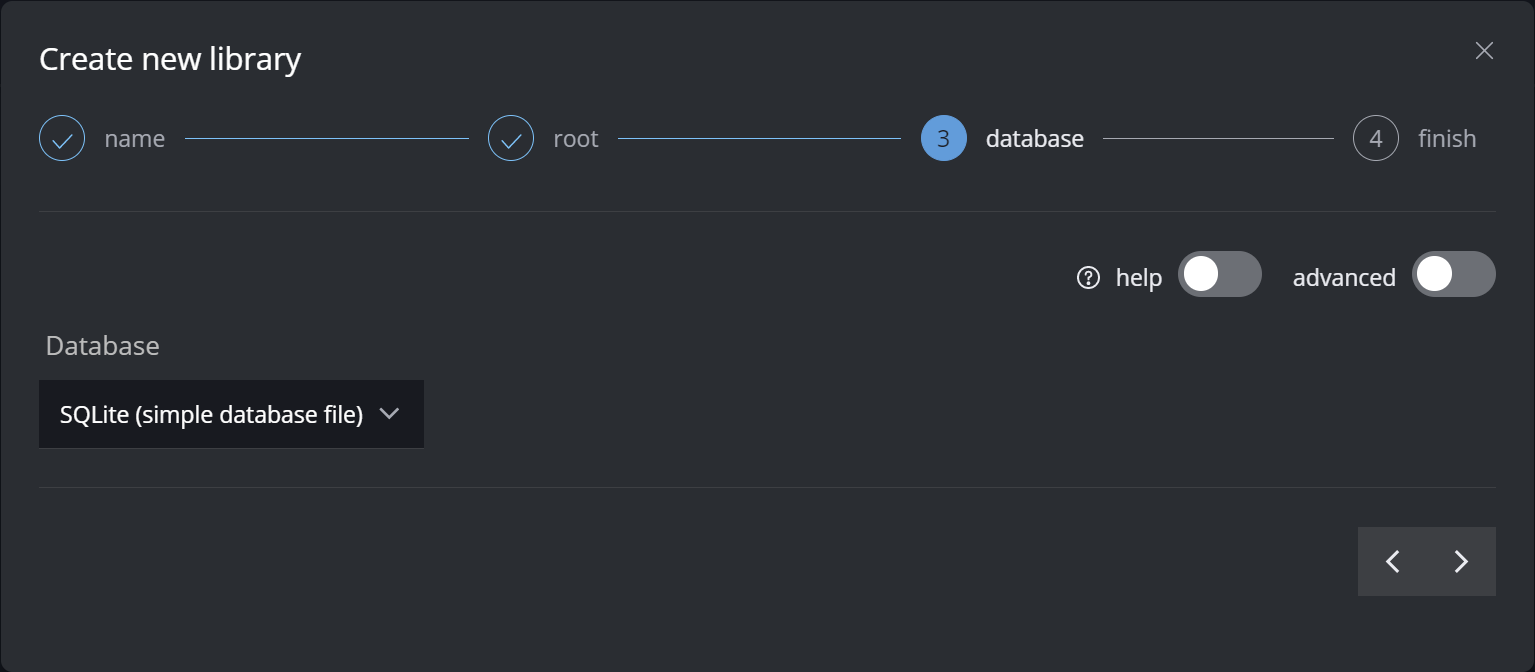
Create new library
Transcoding templates for 3D assets
In this scenario we assume that the main element is a 3d file or scene. We will set a lowres (!) FBX 3d file as the preview proxy. The preview 3d file can point to the main file if it’s a game ready asset (<100mb).
The textures are additionals files. For each additional texture file we will create thumbnails (1k resolution) for a quick preview of the different texture layers.
The preview 3d model will load the proxy textures as it’s texture source. Please be aware that the color information is loaded only if a texture name is: diff, diffuse, beauty or color
Here are the different transcoding templates that we require for this setup:
Resolution folder naming
Since the main element and the proxy of the main element are 3d files, we won’t need any resolution information in the folder name. We call the “resolution“ folders: main and proxy

For the additional files (textures) we assume that these are 2d files like OpenEXR, tiff, etc., that’s why the resolution folder has information about the width and the height.

Template Mapping
The Template Mapping looks like this:
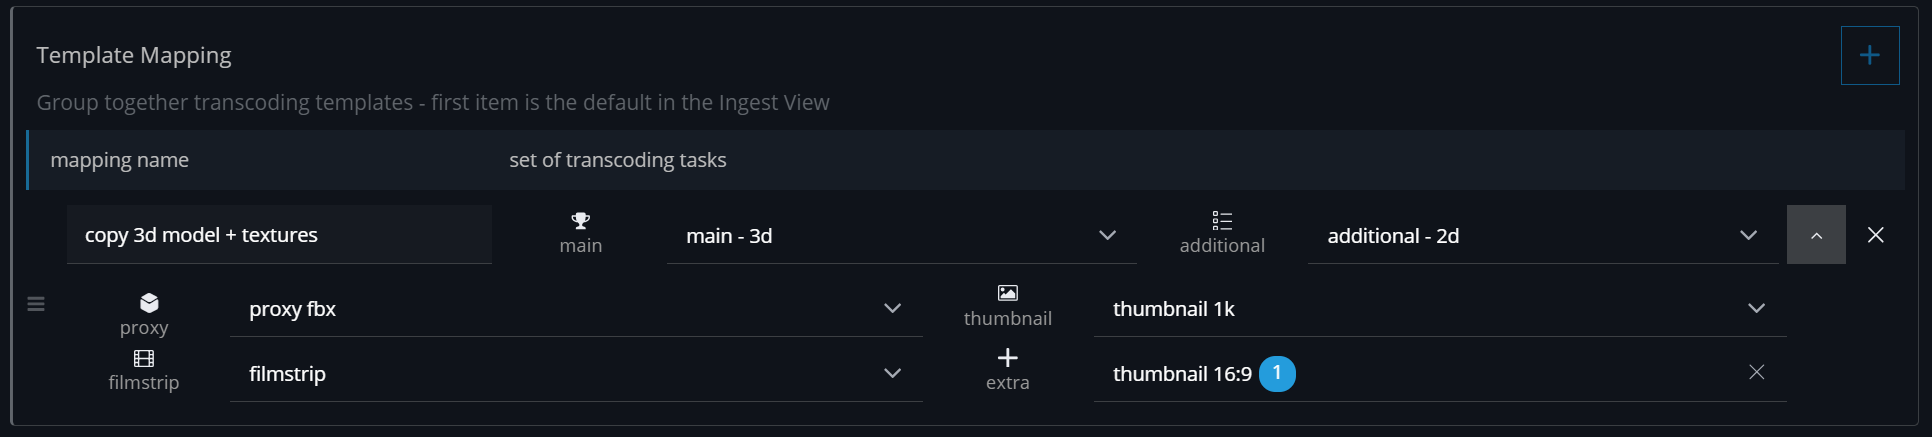
Transcoding templates
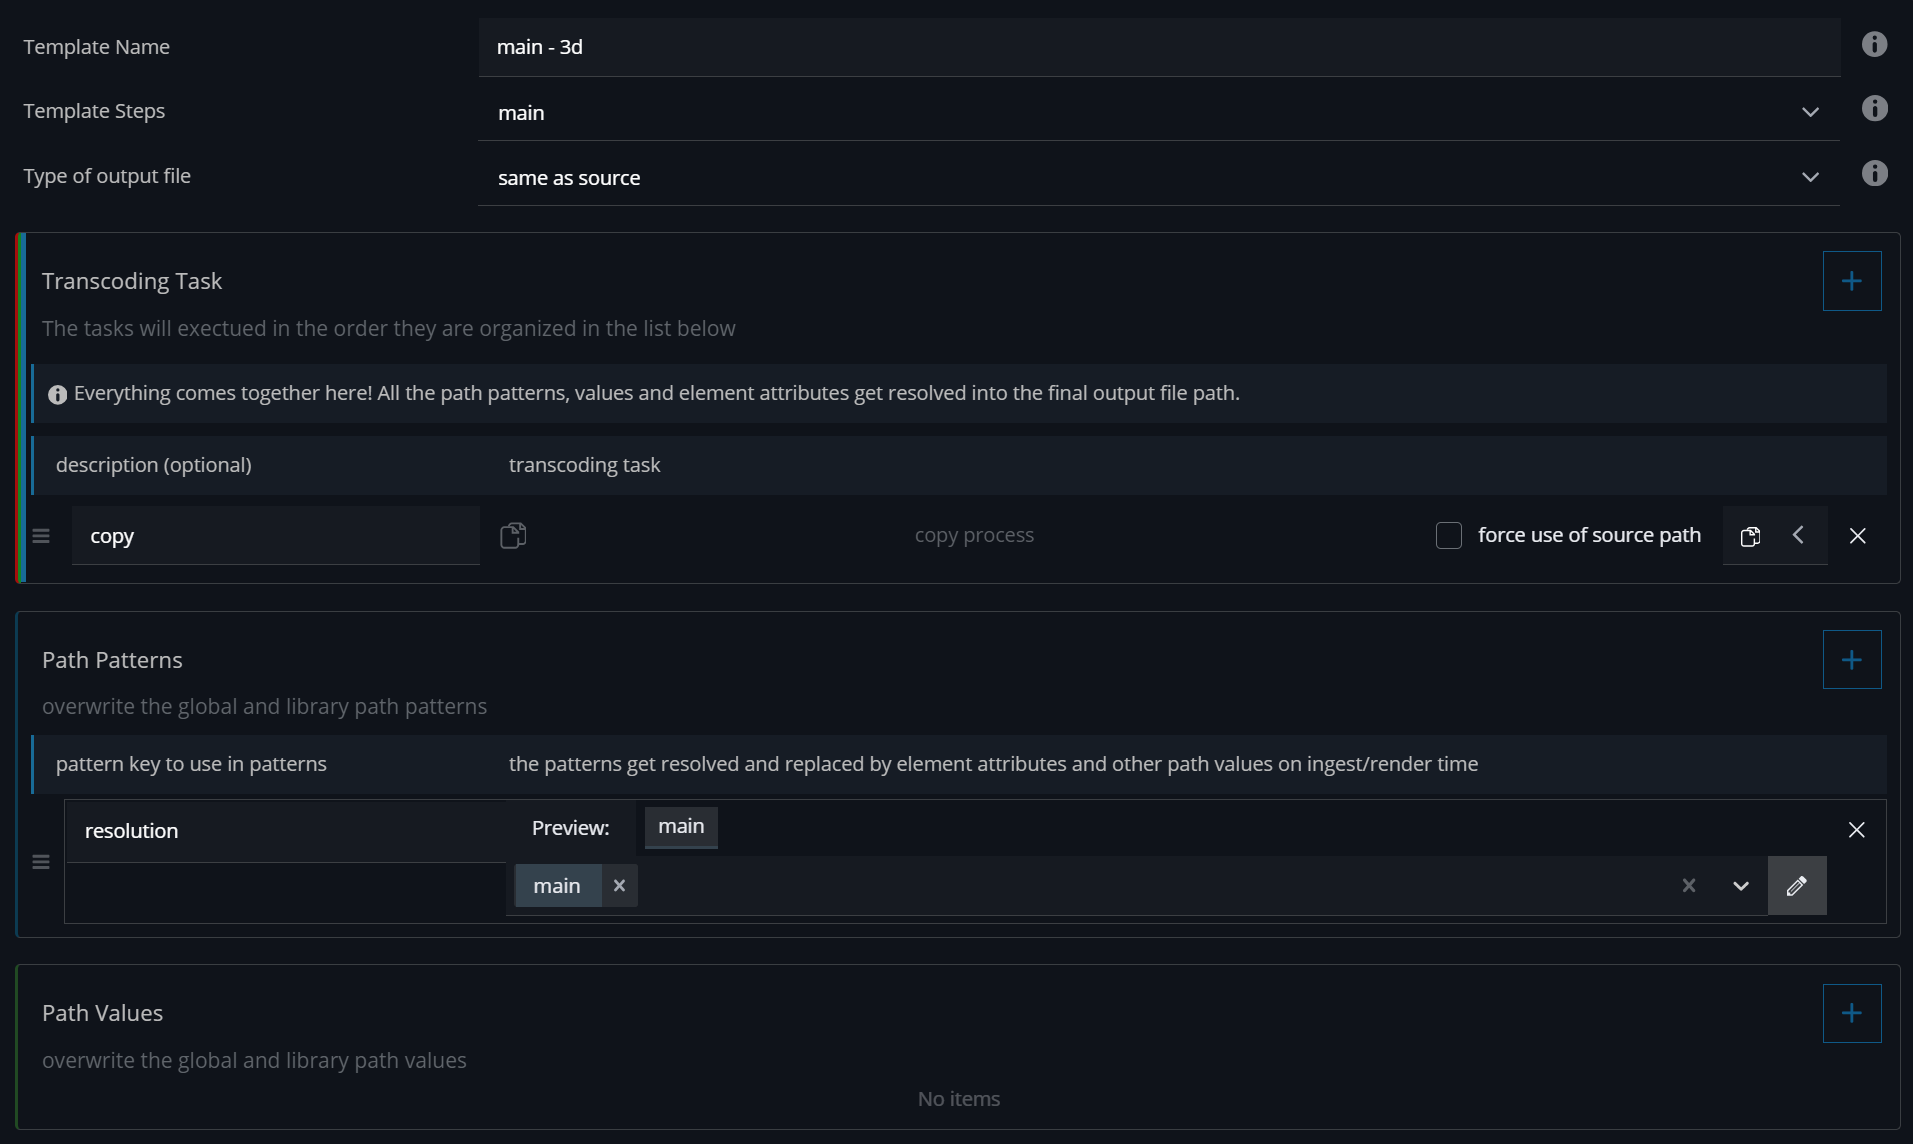
main - 3d
Set the Template Step to main - this will trigger this template only for the main element
The transcoding task is a copy task - this will copy the source file to the main element location
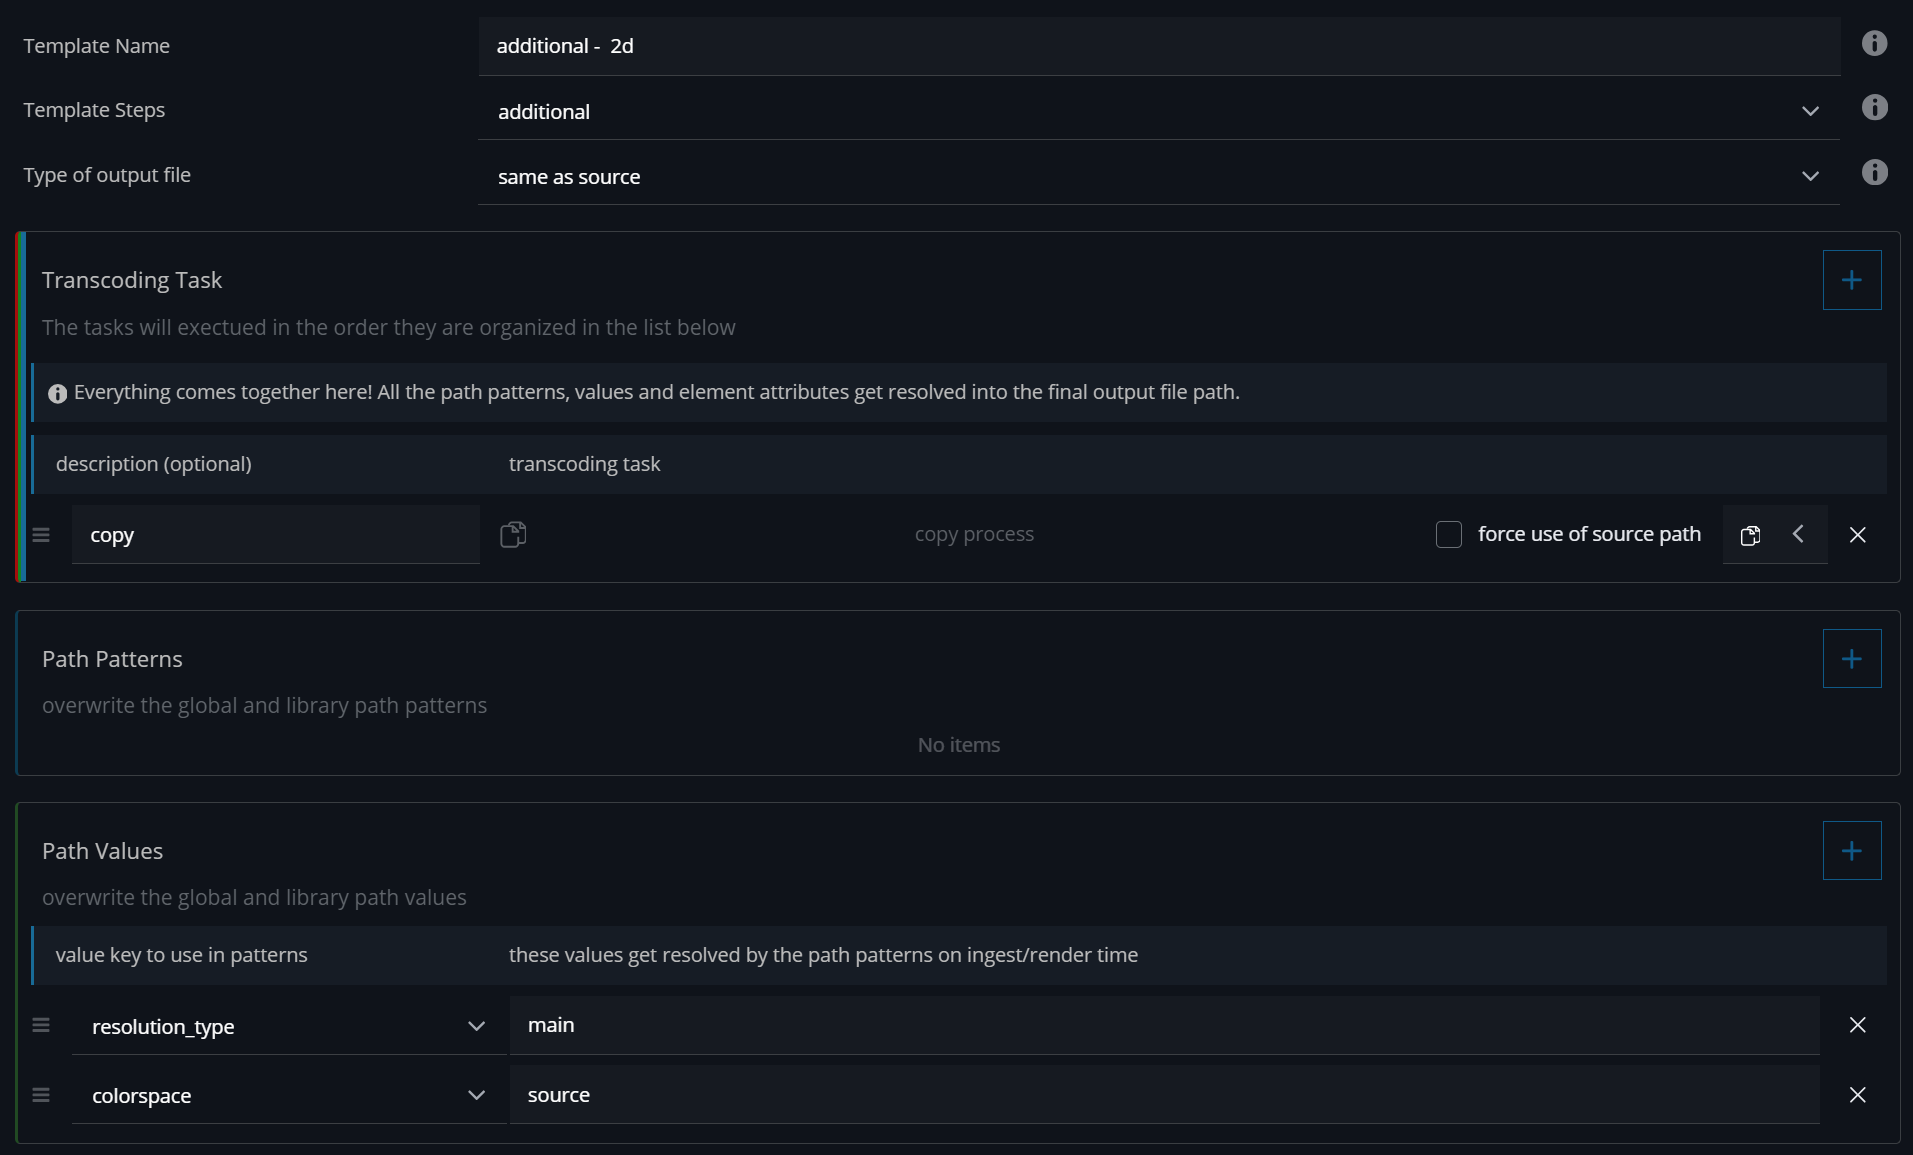
additional - 2d
This is for the additional files.
Set the Template Step to main - this will trigger this template only for the main element
The transcoding task is a copy task - this will copy the source file to the main element location
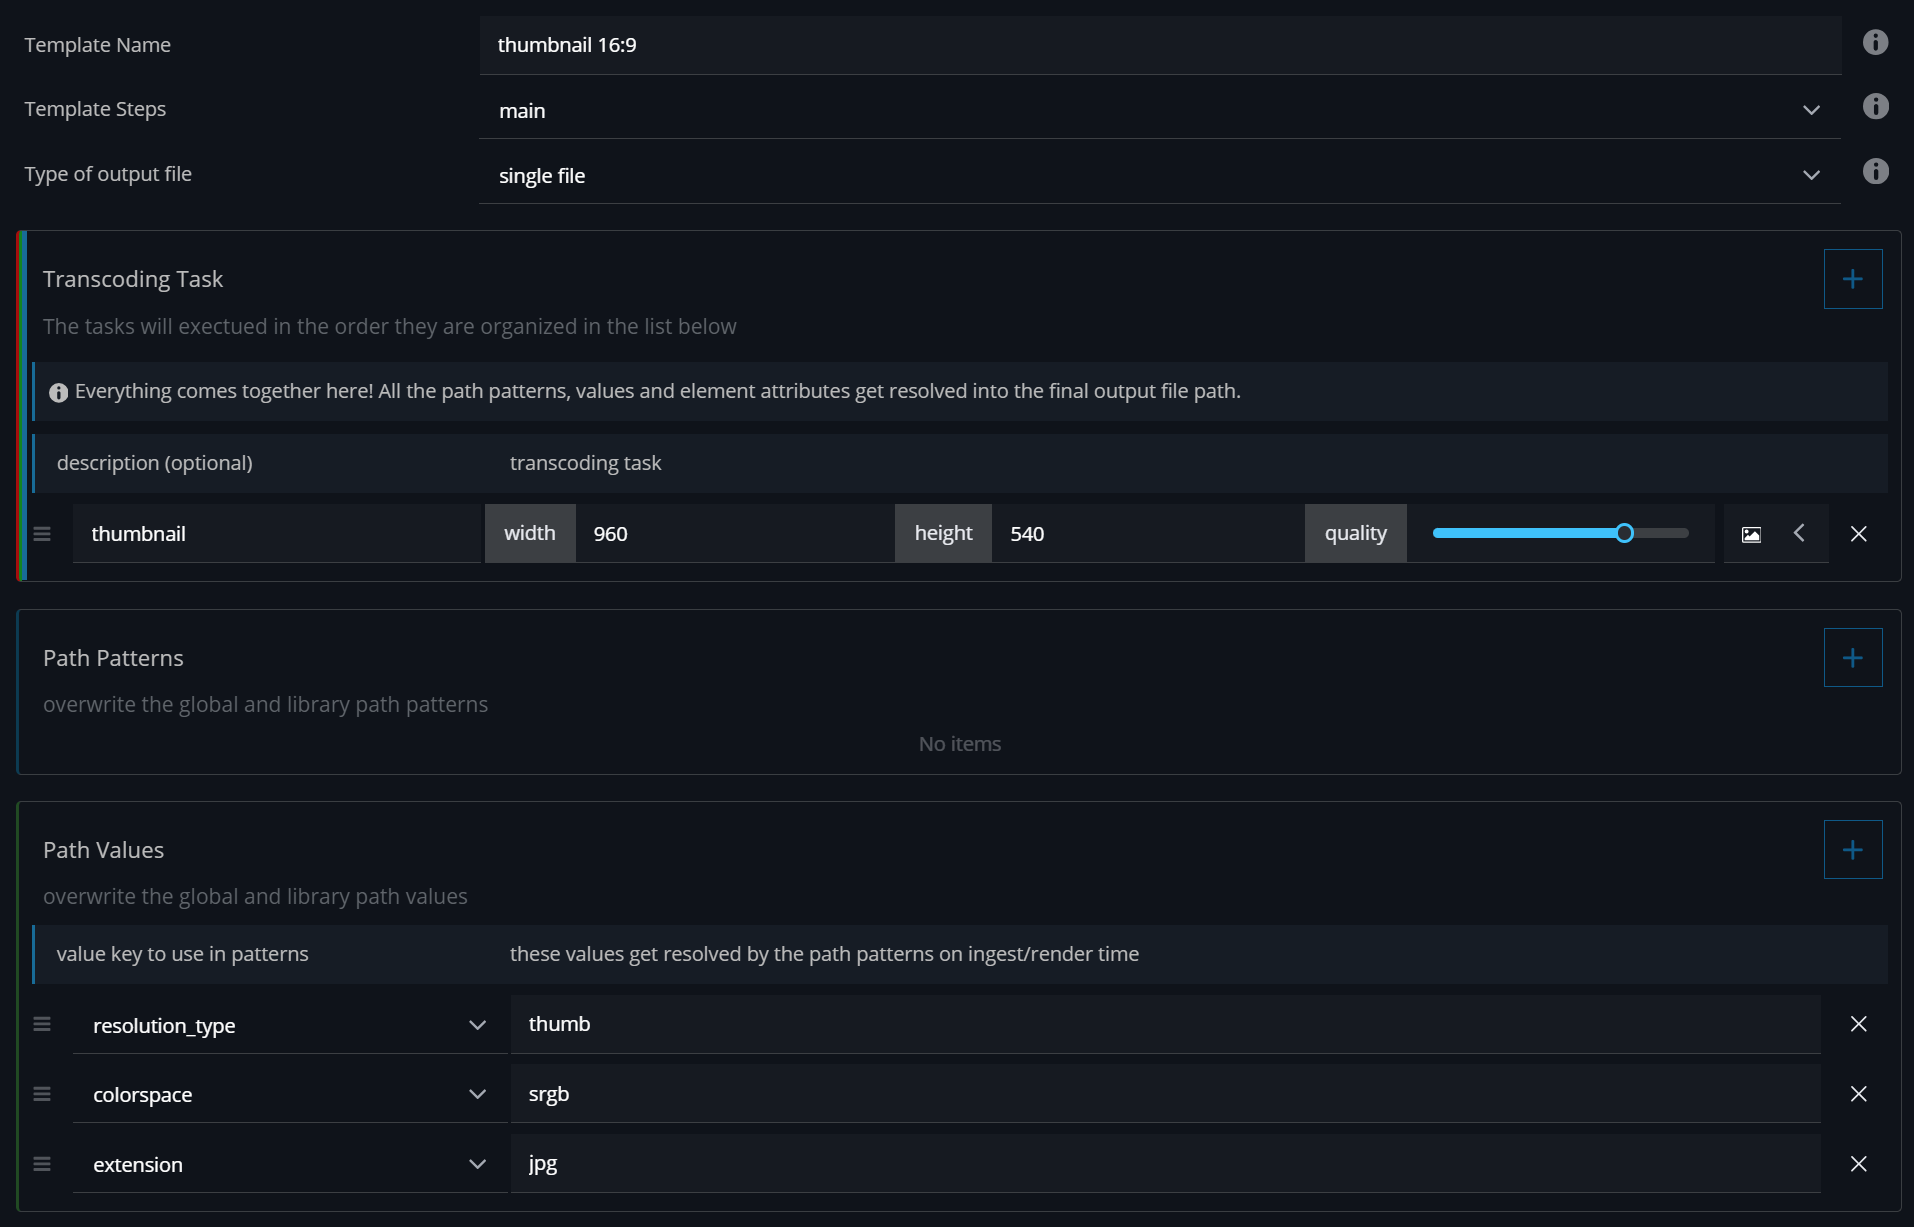
Thumbnails
thumbnail 16:9
Set the Template Step to main - this will trigger this template only for the main element
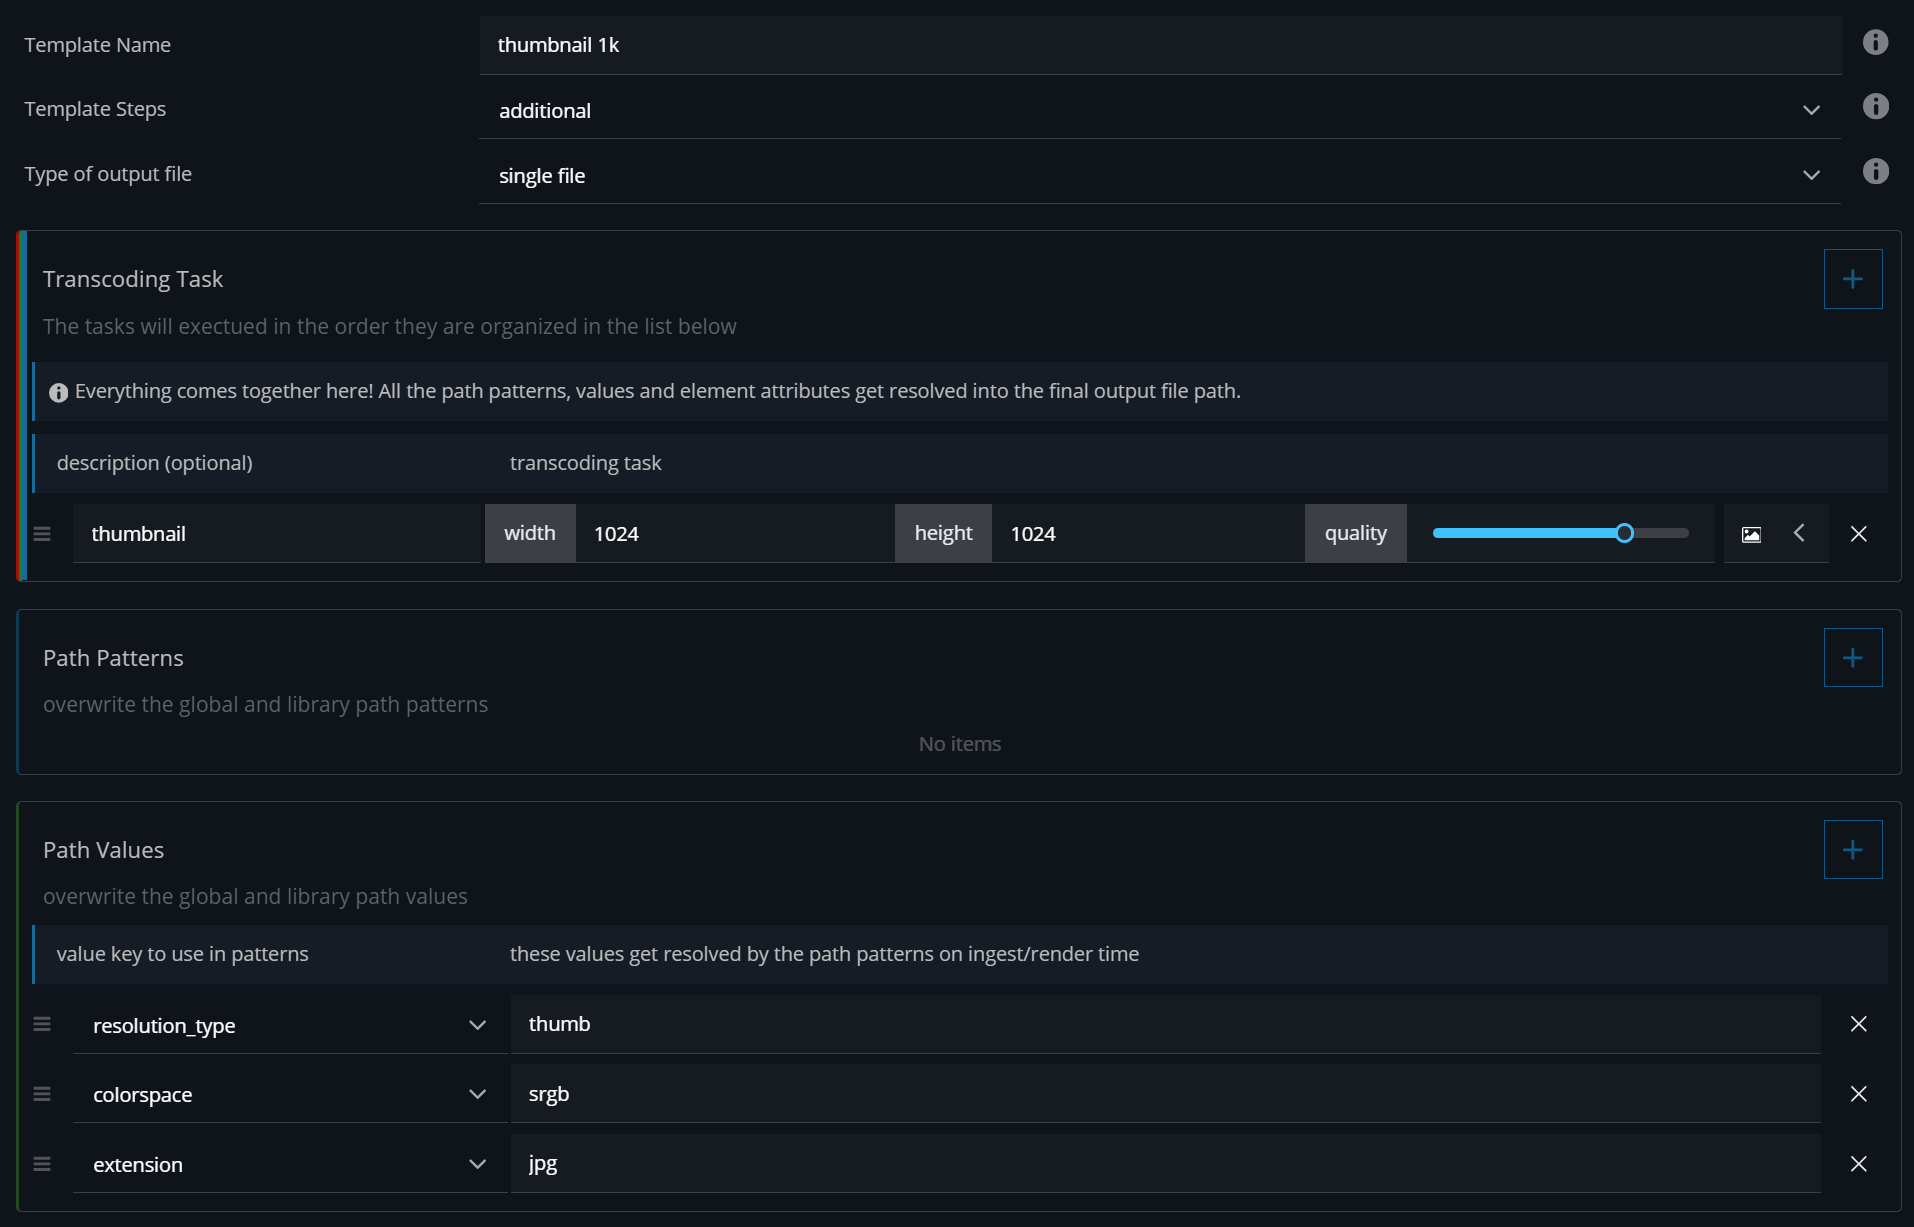
thumbnail 1k
For the additional files we assume that the texture files have a square format. In this case we want to render square thumbnails as well.
Set the Template Step to additional - this will trigger this template only for the main element
Change the resolution to width (1024) and and height (1024)
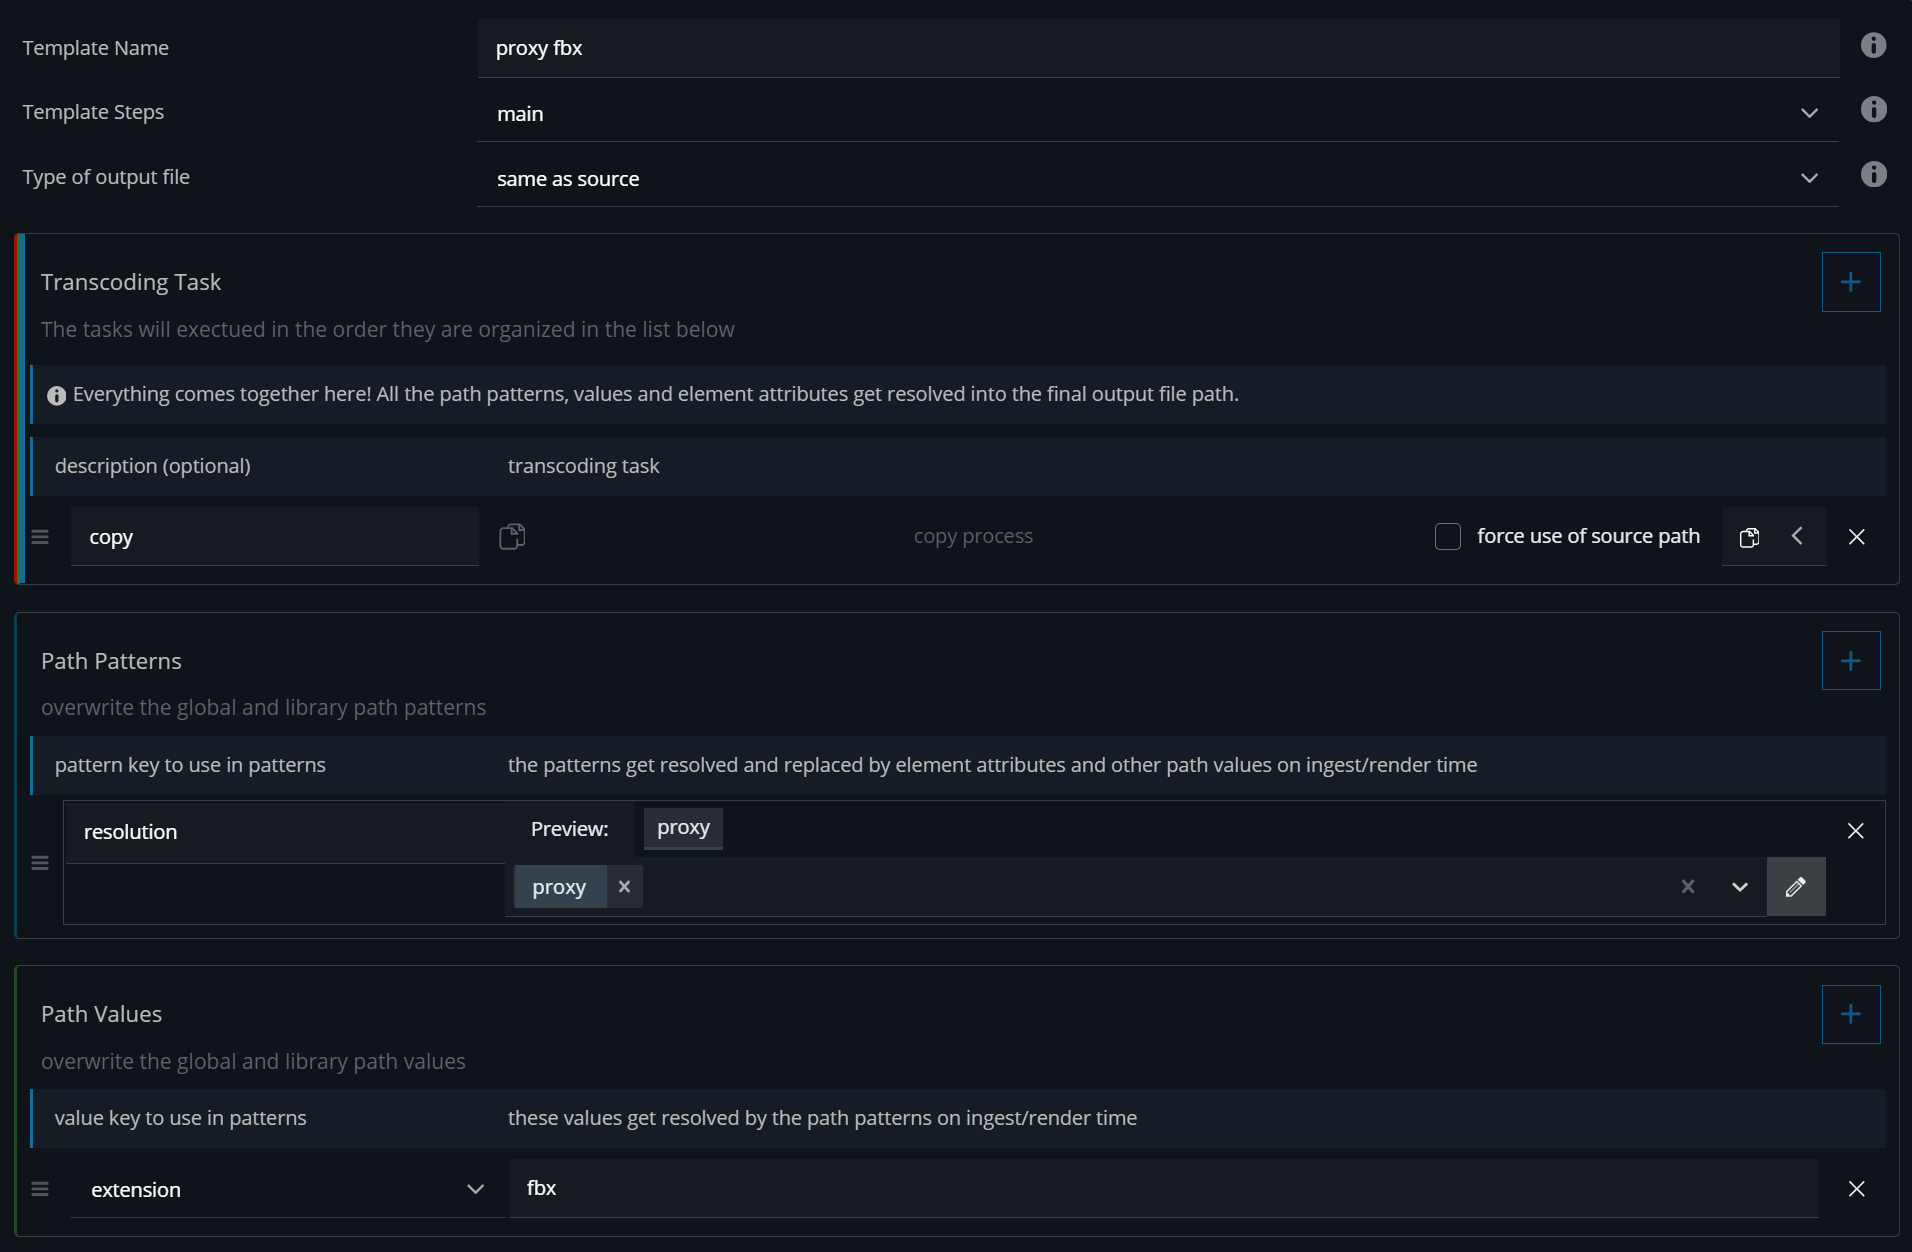
proxy fbx
Set the Template Step to main - this will trigger this template only for the main element not the additional texture files.
Make sure to change the extension to fbx
[optional] proxy mov & filmstrip
In cases where there is no lowres 3D proxy, you can choose to instead ingest a movie file e.g. a turntable rendering. In this case it will render a proxy movie and a filmstrip. These are the default proxy mov and filmstrip transcoding templates:
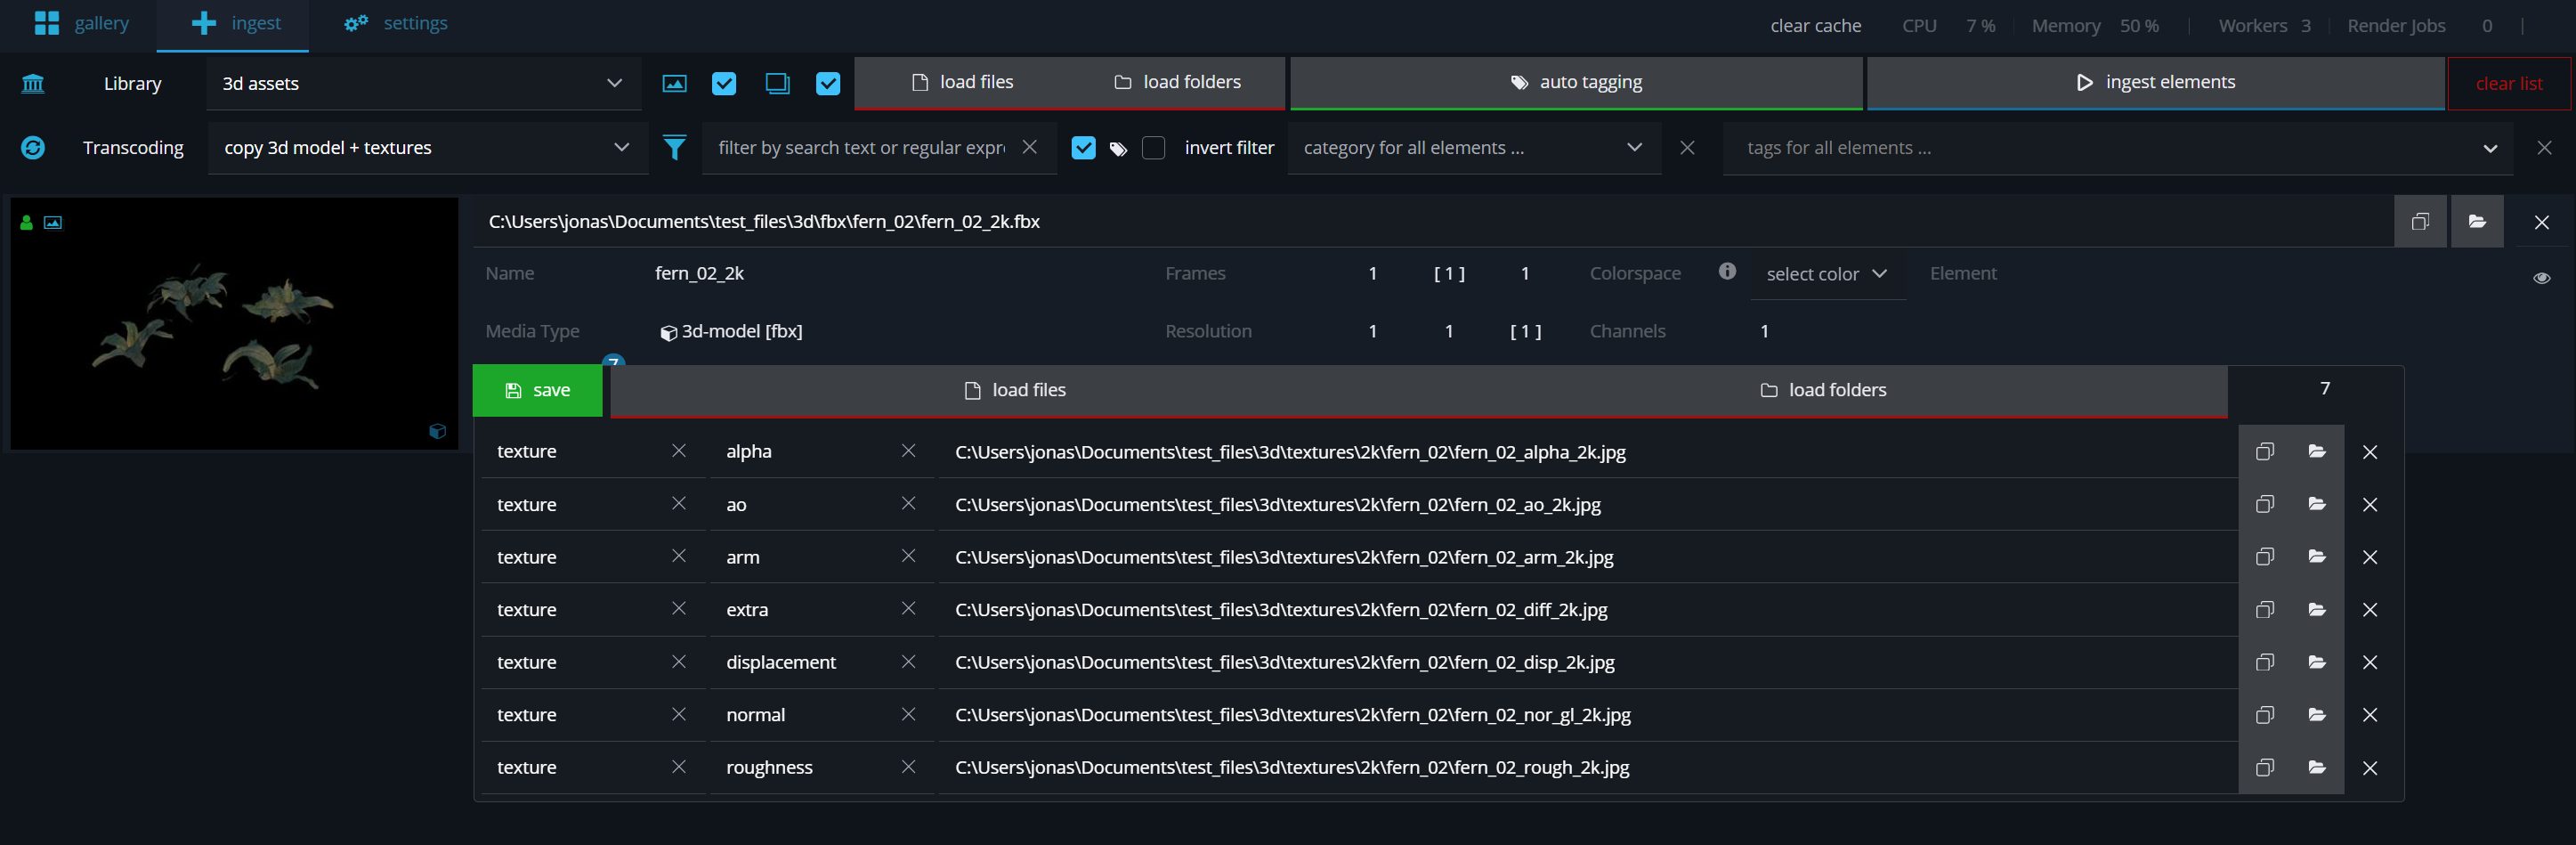
Ingest
Choose a 3d file to ingest and set the texture files as additional files (button next to the preview)

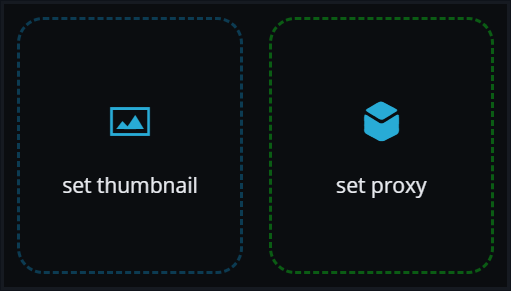
Custom preview
For a custom preview you can set a thumbnail and a proxy file.
Custom thumbnail
There are three options to set a custom thumbnail:
-
during ingest (drag&drop an image on the preview in the ingest view)
-
take a screenshot of the viewport
-
drag&drop an image on the element preview in the gallery view
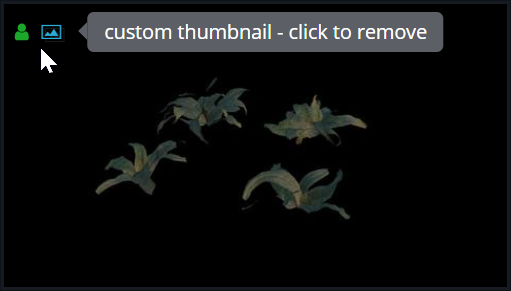
Ingest view
Drag an image over the element preview.
To remove it click the thumbnail icon in the top left corner.
Gallery View
To set a new thumbnail you can use the build in screenshot-button to take a screenshot of the current viewport.

An alternative is to drag&drop a custom screenshot or image on the element viewer. This will perform a copy of the dropped file to the thumbnail path as defined in the settings.
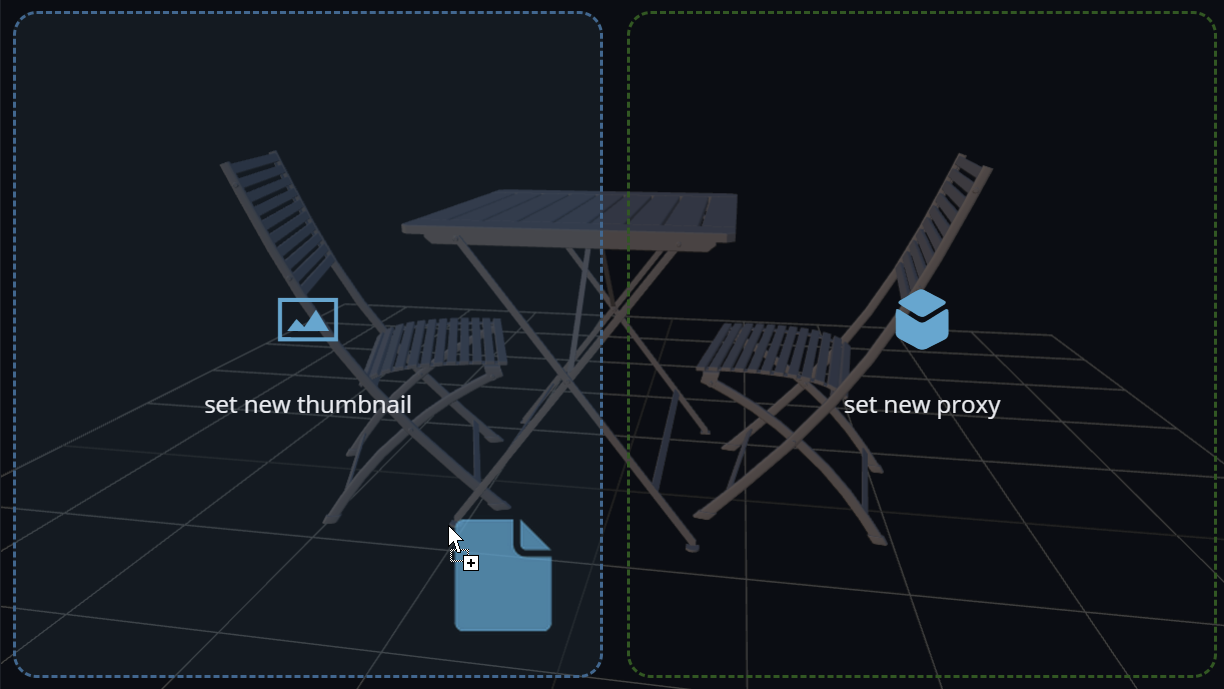
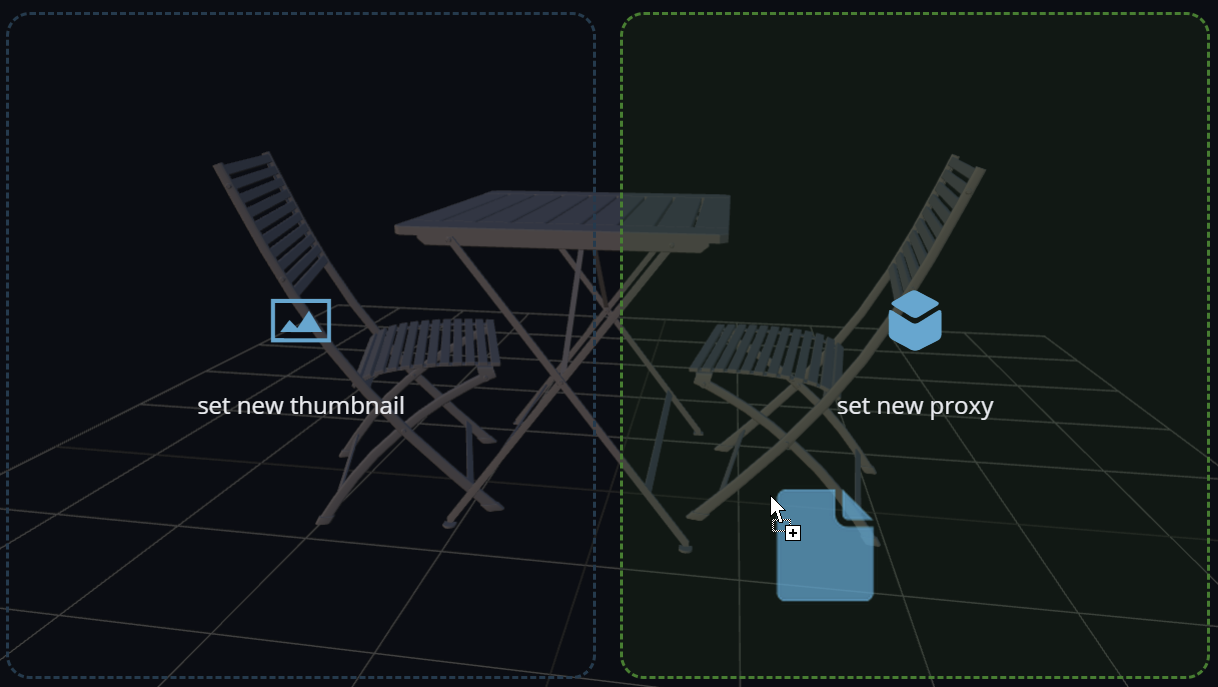
Custom 3D proxy
The proxy file can either be a 3D model (fbx, obj) or a movie file. Depending on the file type of your proxy and the file extension you choose in the transcoding template settings, it will load the proxy file.
Drag&drop a 3D proxy model on the 3D viewer (right side). This will perform a copy of the dropped file to the proxy path as defined in the settings.
Please note that the software only can display low-poly (aka. game-ready) 3D files.
Automate ingest
To automate the ingest process you can use the pre ingest load Python hook. This allows you to crawl for additional texture files, custom thumbnails, turntables and a 3d proxy file to automatically populate the ingest list when loading an asset in the ingest list. This can be a real time saver if your source files follow the same pattern.
3D files don’t really have a resolution we don’t need the height and width in the folder name.
The resolution would otherwise be 1 since it can’t resolve the resolution for 3D files.